
This post may contain affiliate links, which means I may earn a commission for my recommendations at no additional cost to you. By browsing this website, you agree to our privacy policy and terms of use.
Learning how to cook and freeze chickpeas is a game changer! They're a great source of plant protein, fiber, and other essential vitamins and minerals, making them a star ingredient in a variety of recipes and Middle Eastern Cuisine.
So, whether you’re making hummus, falafel, or crunchy snacks, having this versatile legume on hand can be a real time and money saver. In this blog post we'll dive into the best ways to cook, store, and freeze these protein-packed legumes for optimal nutrition and flavor.
Can You Freeze Chickpeas?
Yes, you can freeze chickpeas or garbanzo beans! Freezing them is not only a great way to preserve the shelf life of your chickpeas, but a great way to ensure you always have them on hand when you need them at a later date. I personally keep a stash of frozen, cooked chickpeas in my freezer at all times!
How Long Do Chickpeas Keep In The Freezer?
Chickpeas will keep in the freezer for up to six months. After that, they're still safe to eat but the quality may start to degrade and they may not taste as good as they once were.
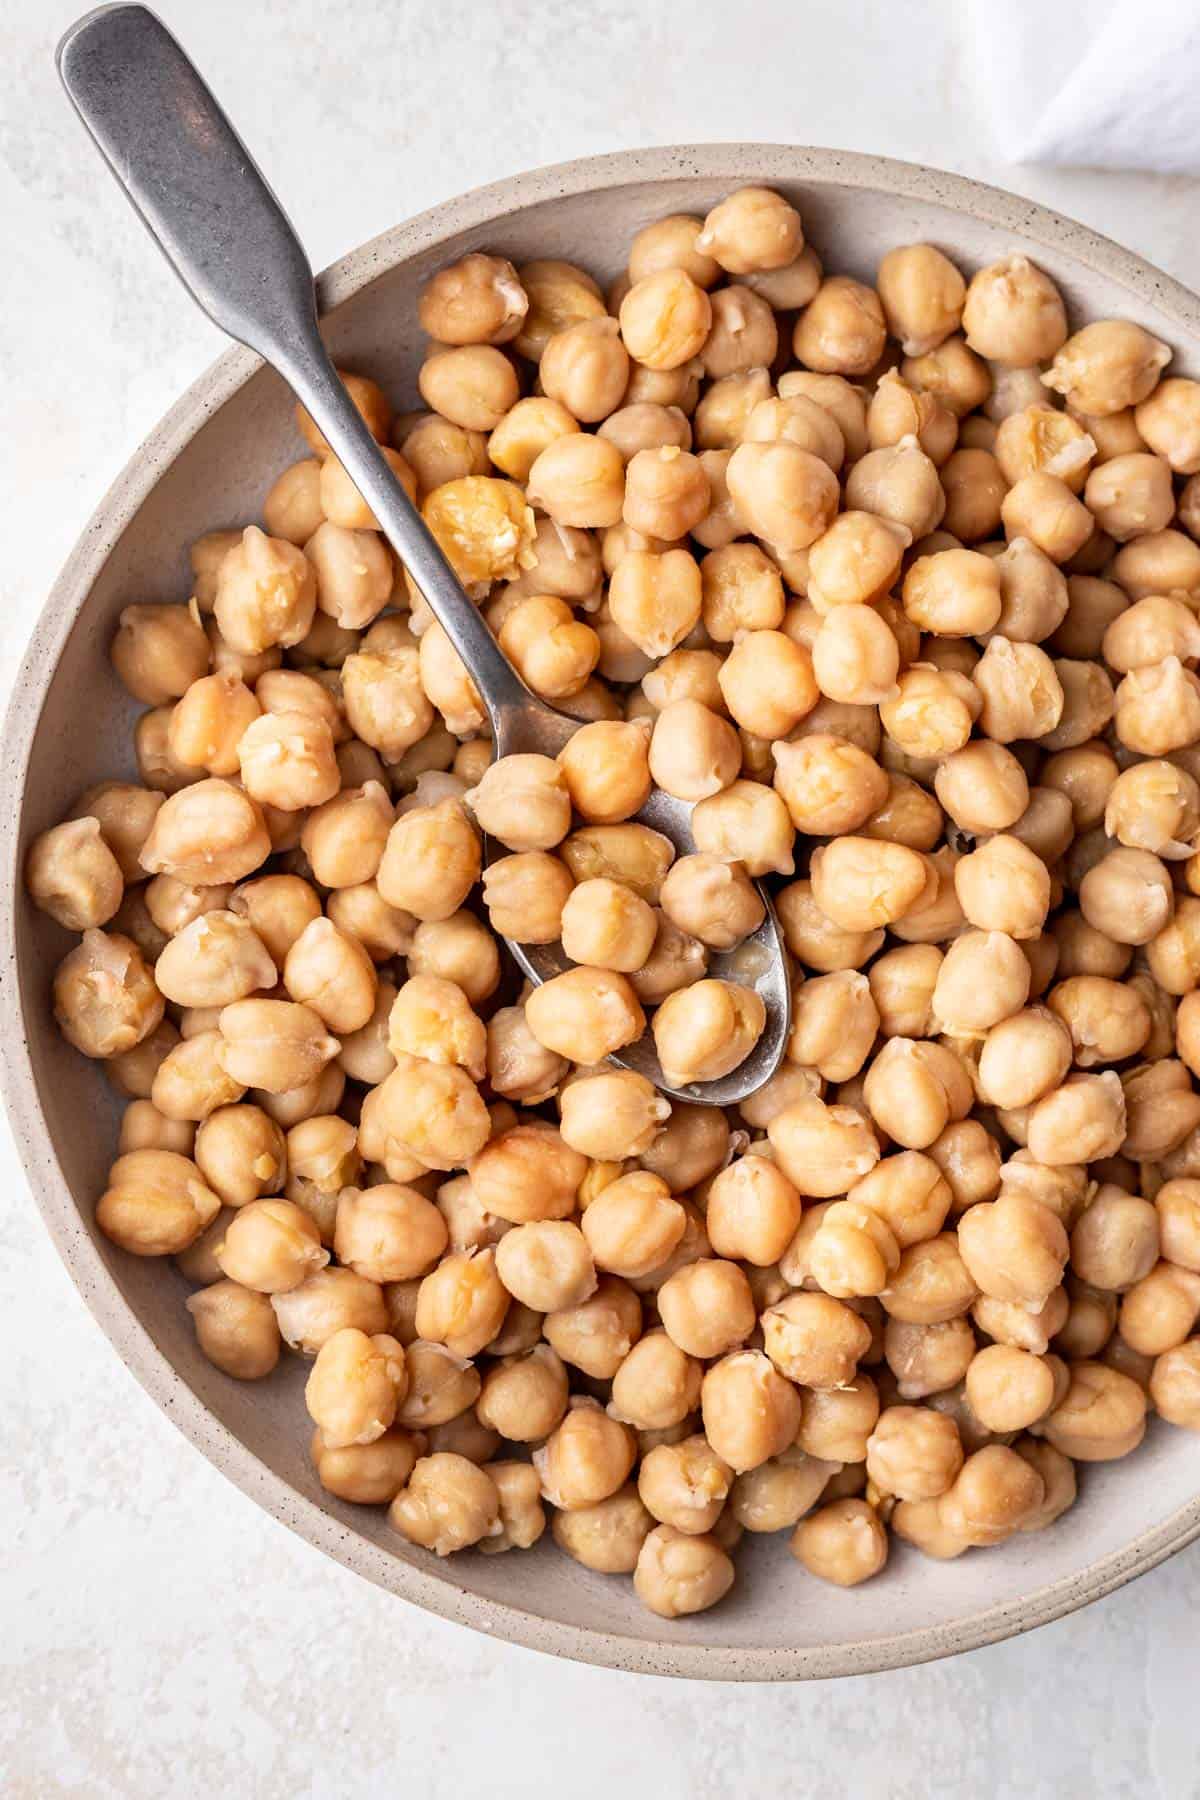
How to Cook Chickpeas
When cooking your own chickpeas from scratch, I highly recommend using a pressure cooker or Instant Pot. By using this fast cooking appliance, you can cook dry beans without soaking them ahead of time. It's a much faster cooking process with the best results. If you have sensitive digesting, soaking the chickpeas can help make them more digestible.
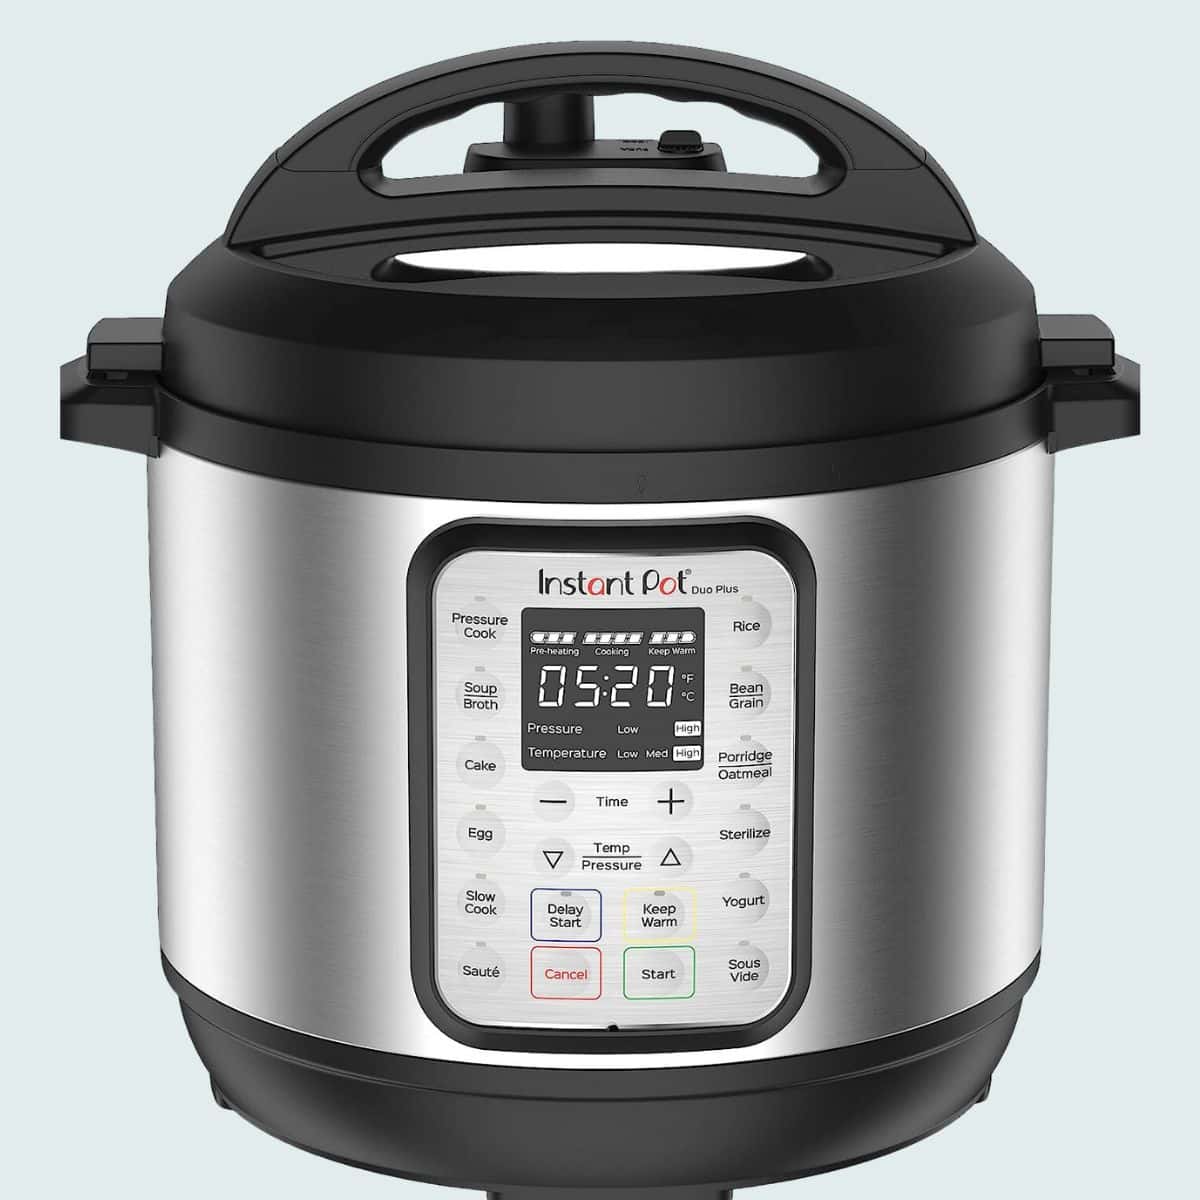
INSTANT POT DUO PLUS
The best budget Instant Pot!
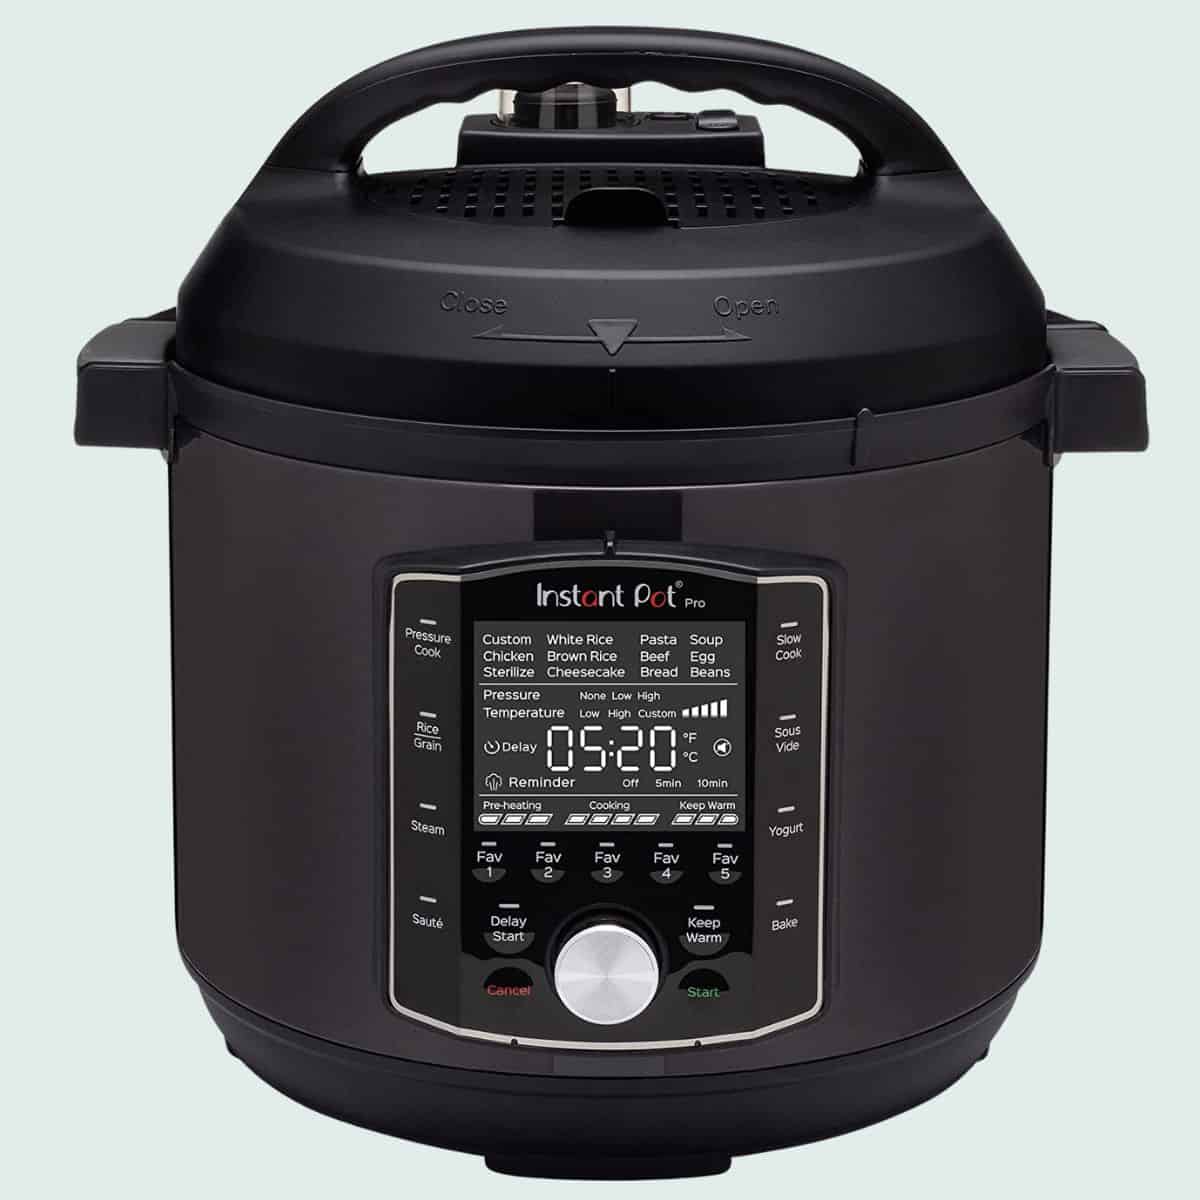
INSTANT POT PRO
Comes to pressure faster with a safer pressure release button.
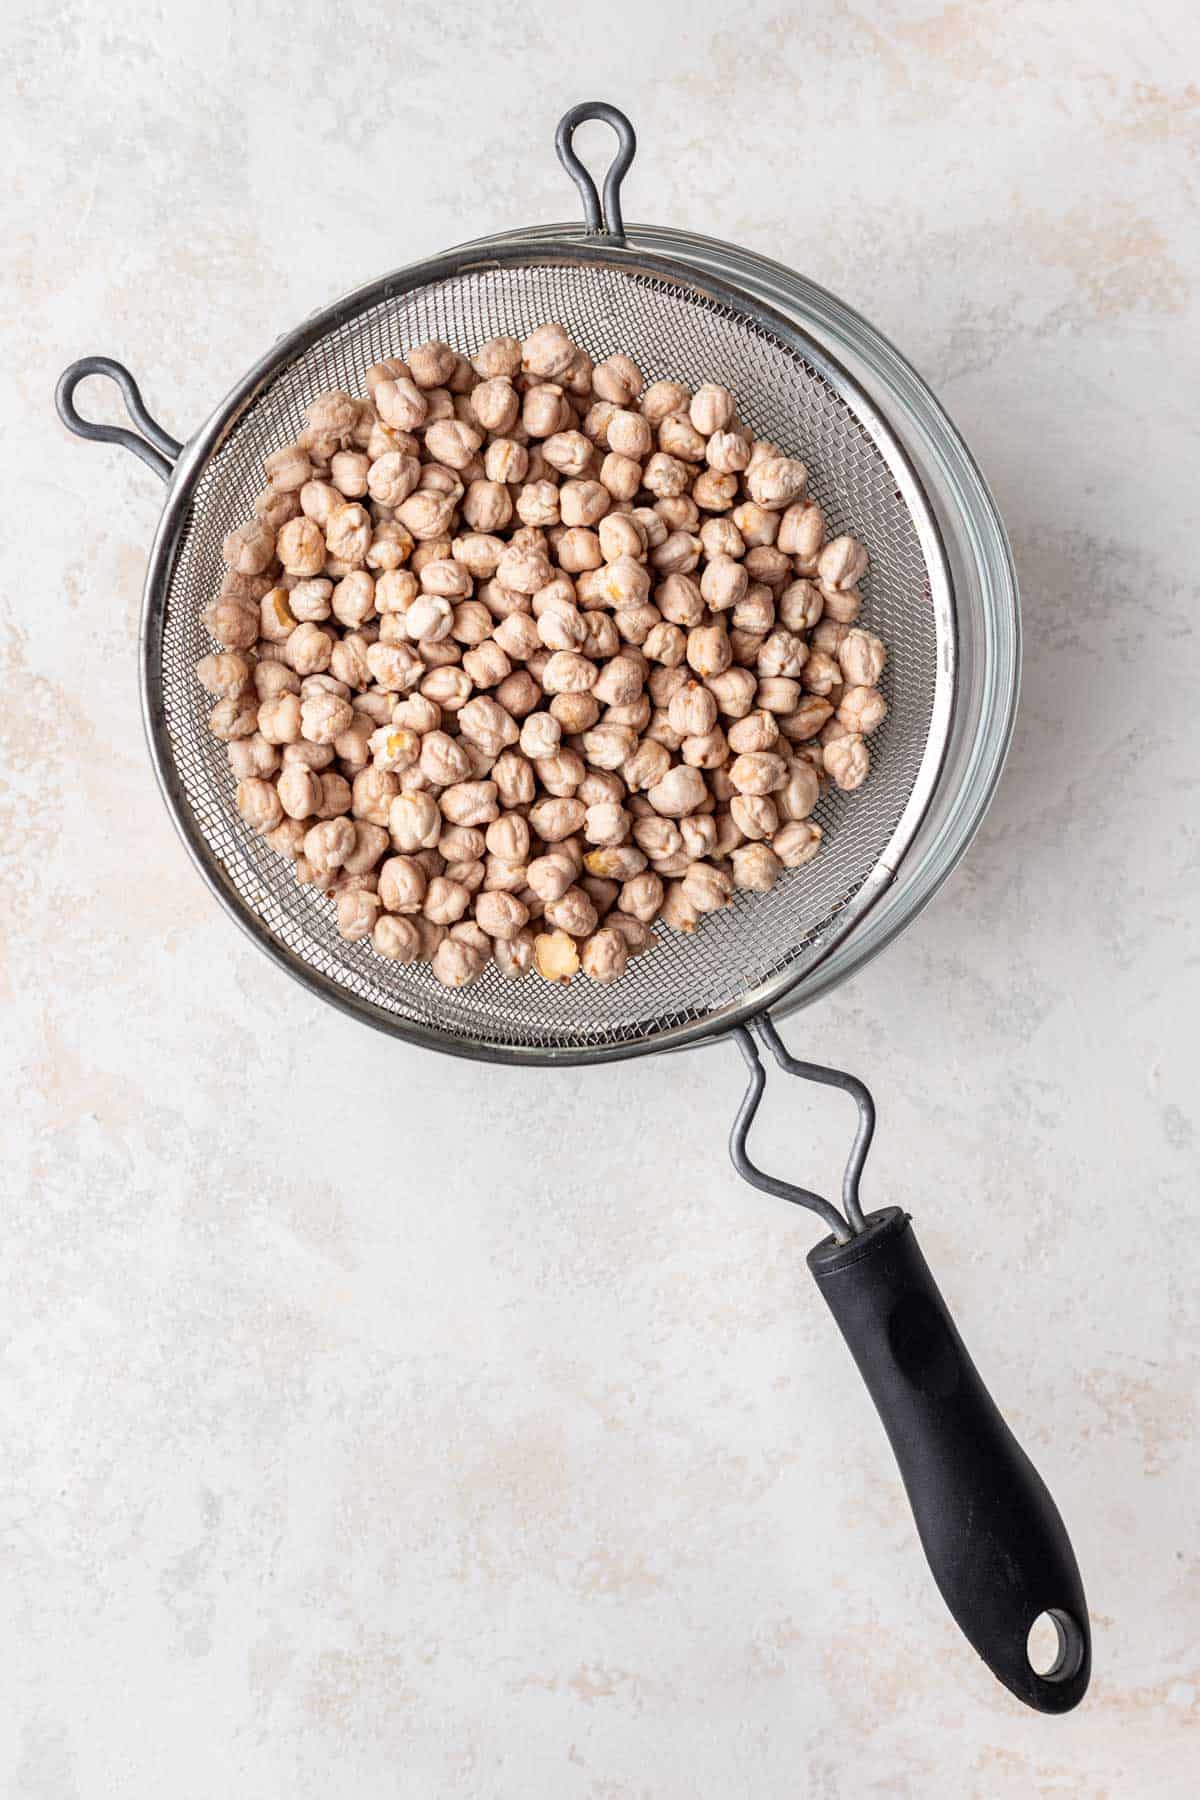
Non-Soaked Chickpeas
- Rinse and drain the dry chickpeas using a fine mesh sieve. Remove any debris, as needed.
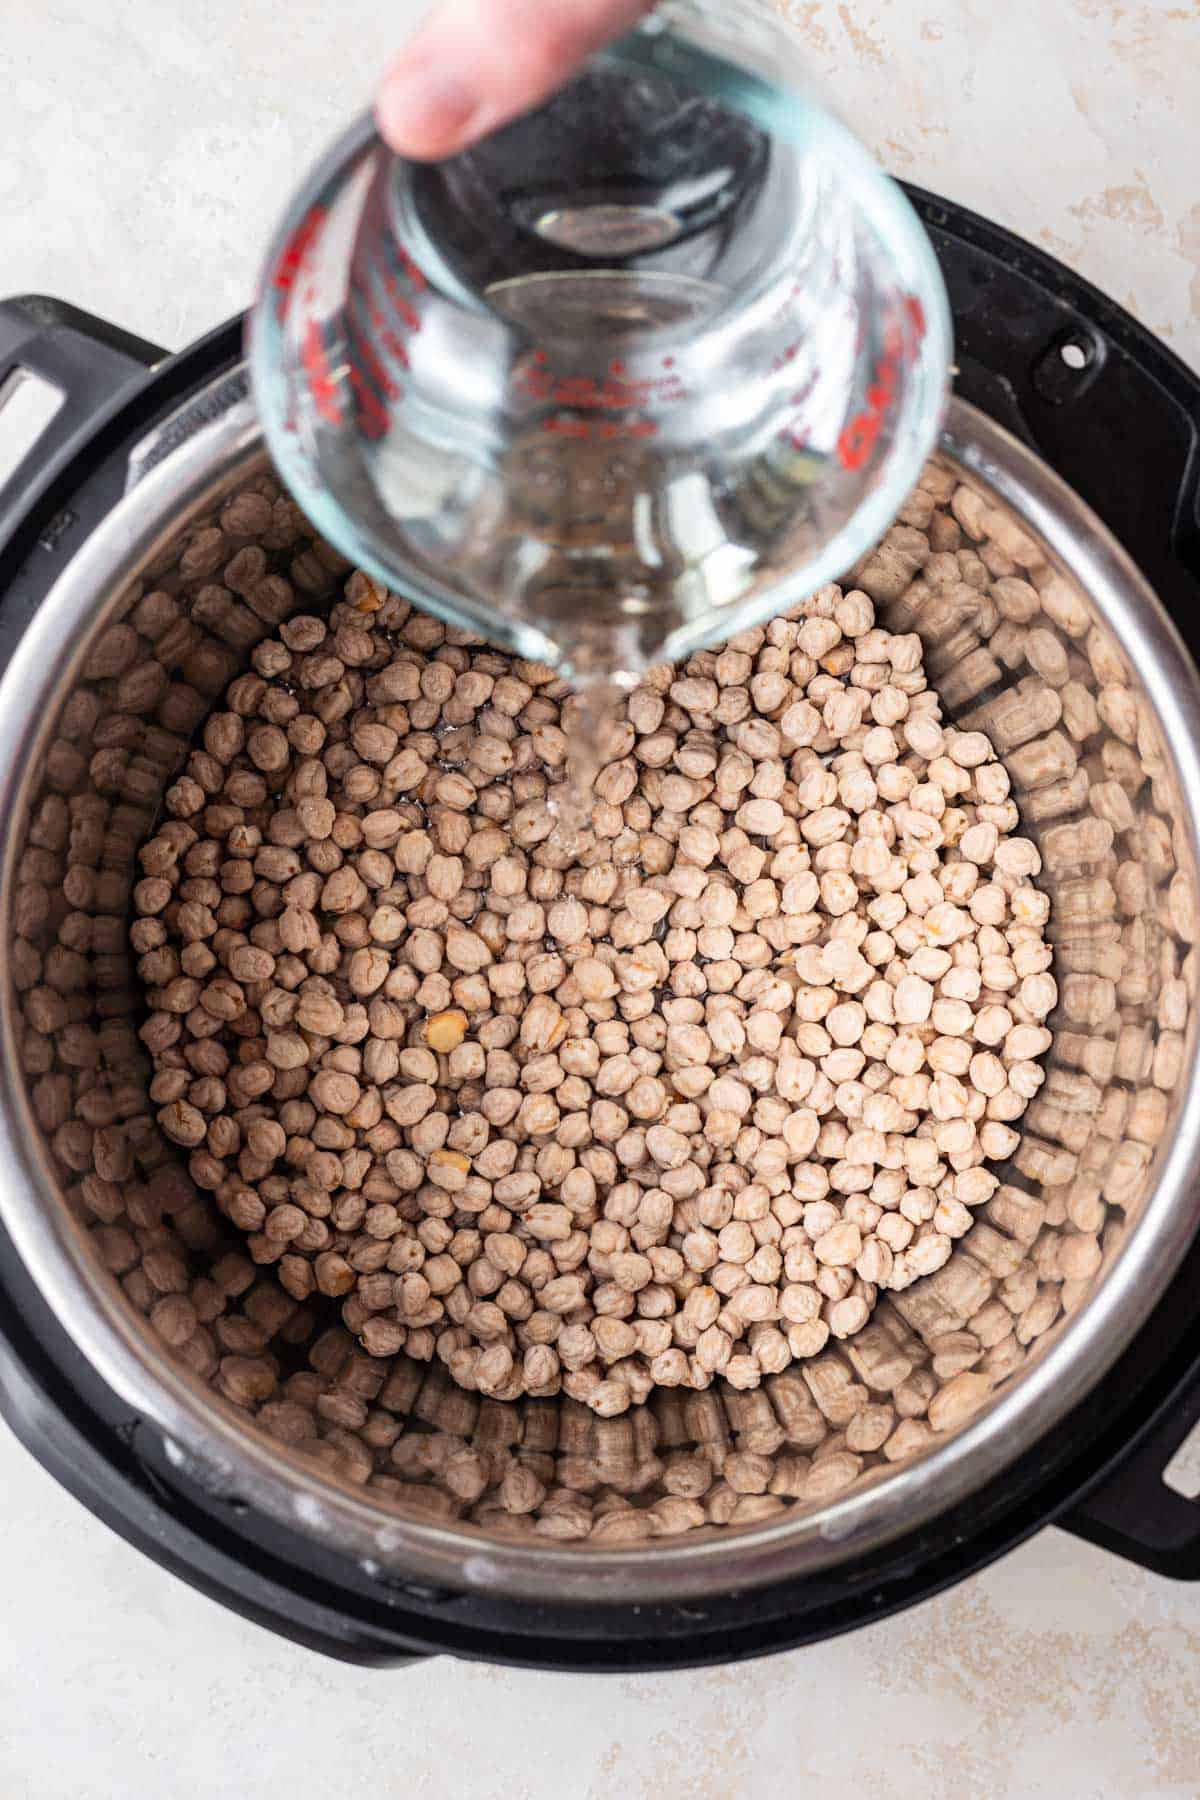
- Transfer the chickpeas to the Instant Pot and top with 4 cups cold water, or enough to cover the chickpeas by 1 inch with water. Season with salt, if using.
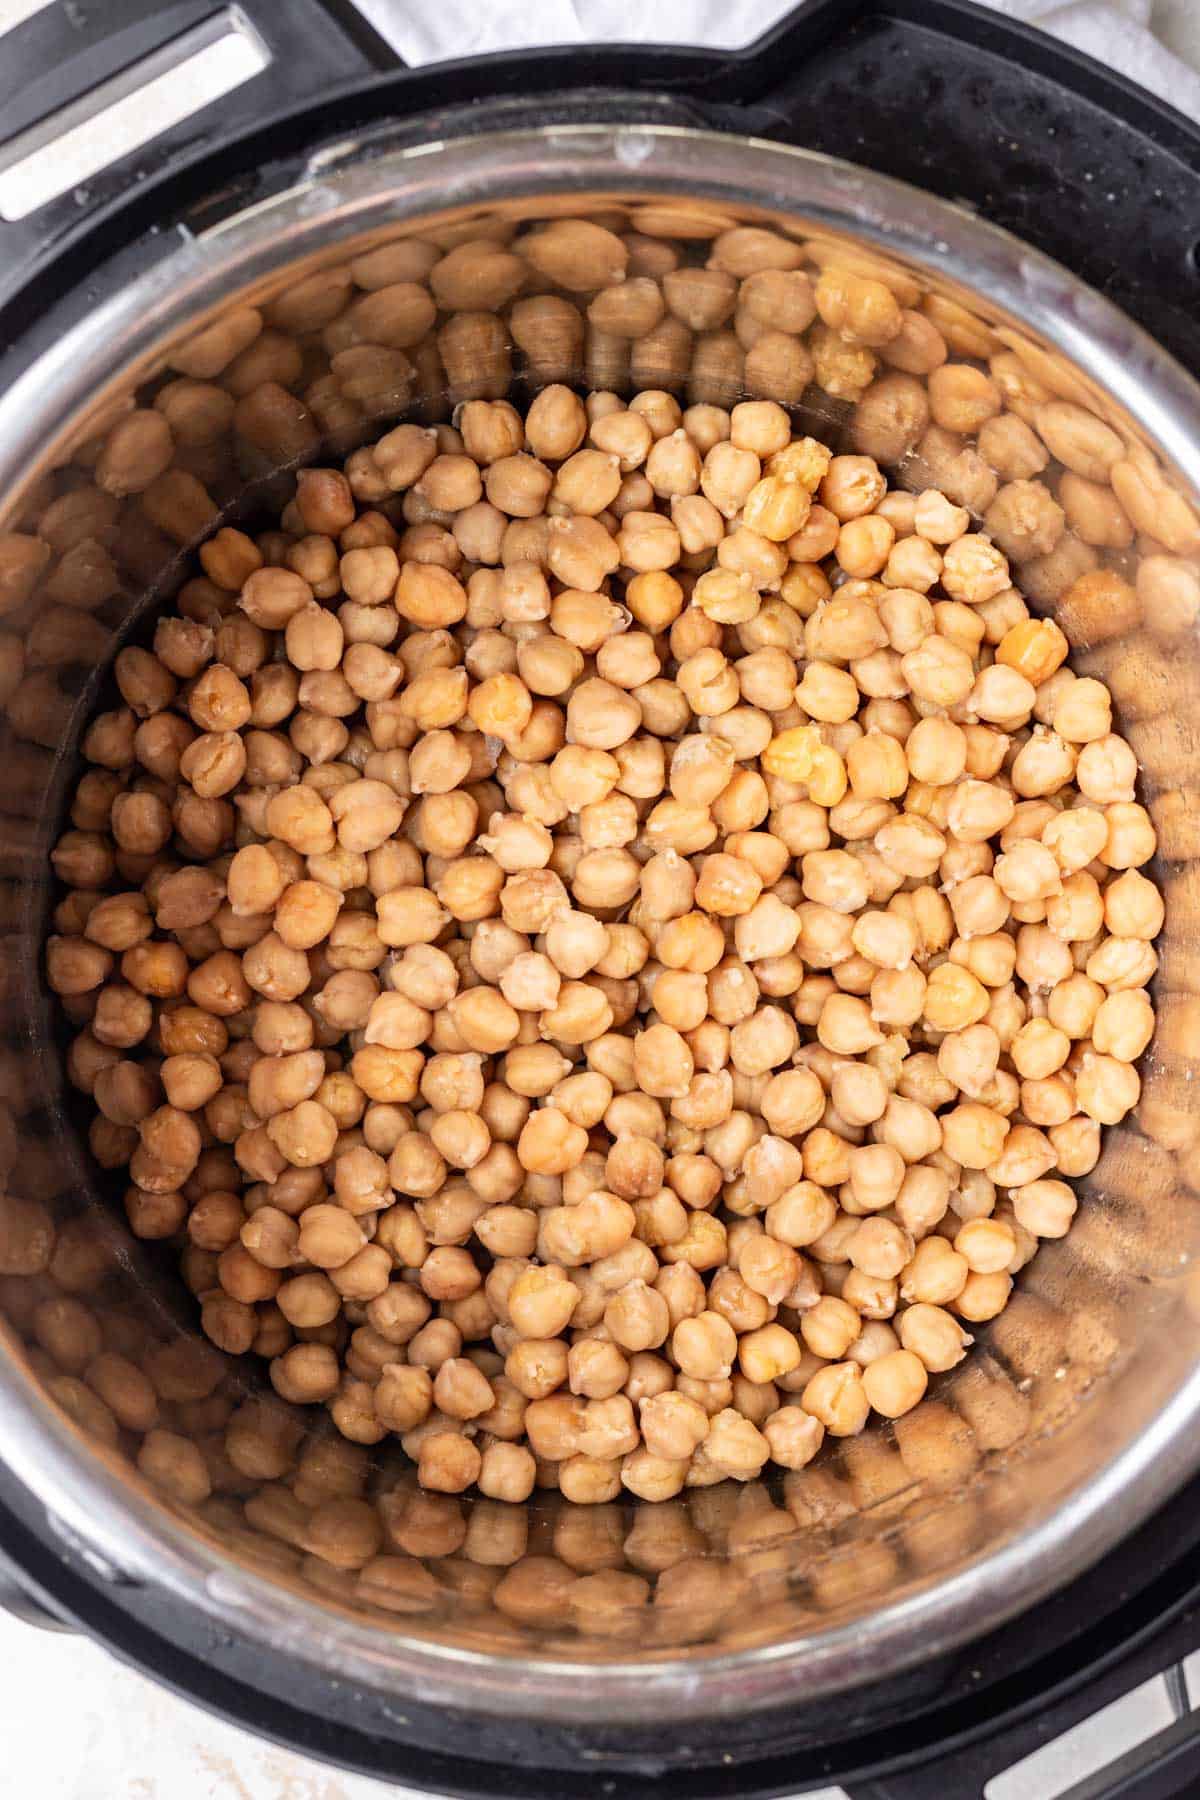
- Pressure cook on high for 50 minutes, followed by a 15 minute natural release before moving the valve to the “venting” position and manually releasing any remaining pressure.
- Drain the remaining aquafaba (cooking water) and either discard or reserve for baking.
Soaked Chickpeas
- Place the chickpeas in a very large bowl and soak the chickpeas for at least 8 hours, or overnight.
- Drain the soaking water and rinse the chickpeas thoroughly. Remove any debris, as needed.
- Transfer the chickpeas to the Instant Pot and top with 4 cups cold water, or enough to cover the chickpeas by 1 inch with water. Season with salt, if using.
- Pressure cook on high for 15 minutes, followed by a 15 minute natural release before moving the valve to the “venting” position and manually releasing any remaining pressure.
- Drain the remaining aquafaba (cooking water) and either discard or reserve for baking.
If you prefer your chickpeas on the softer side, it can be helpful to add a 1/2 teaspoon of baking soda to the water when cooking chickpeas. The baking soda helps create a chemical reaction that breaks down the pectins in the beans, making them both creamier and easier to digest.
How To Freeze Chickpeas
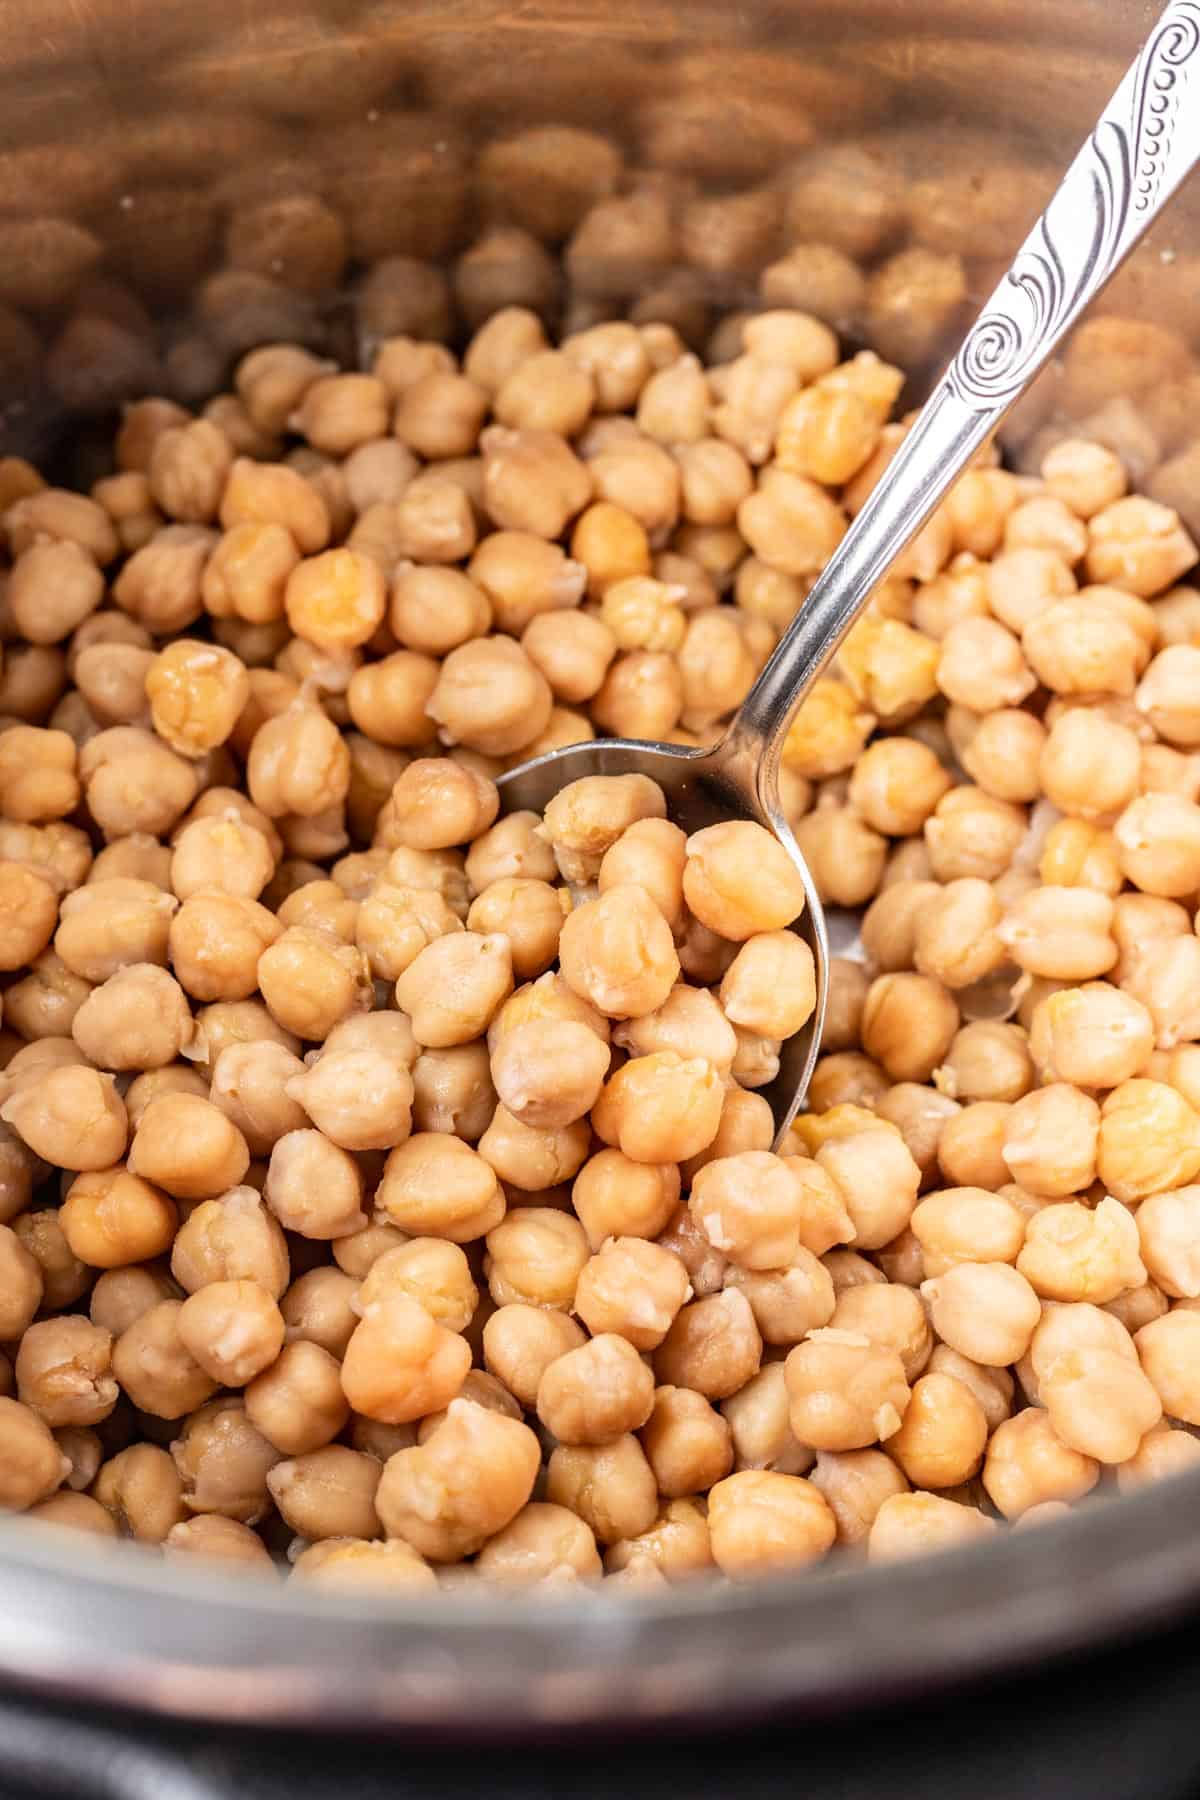
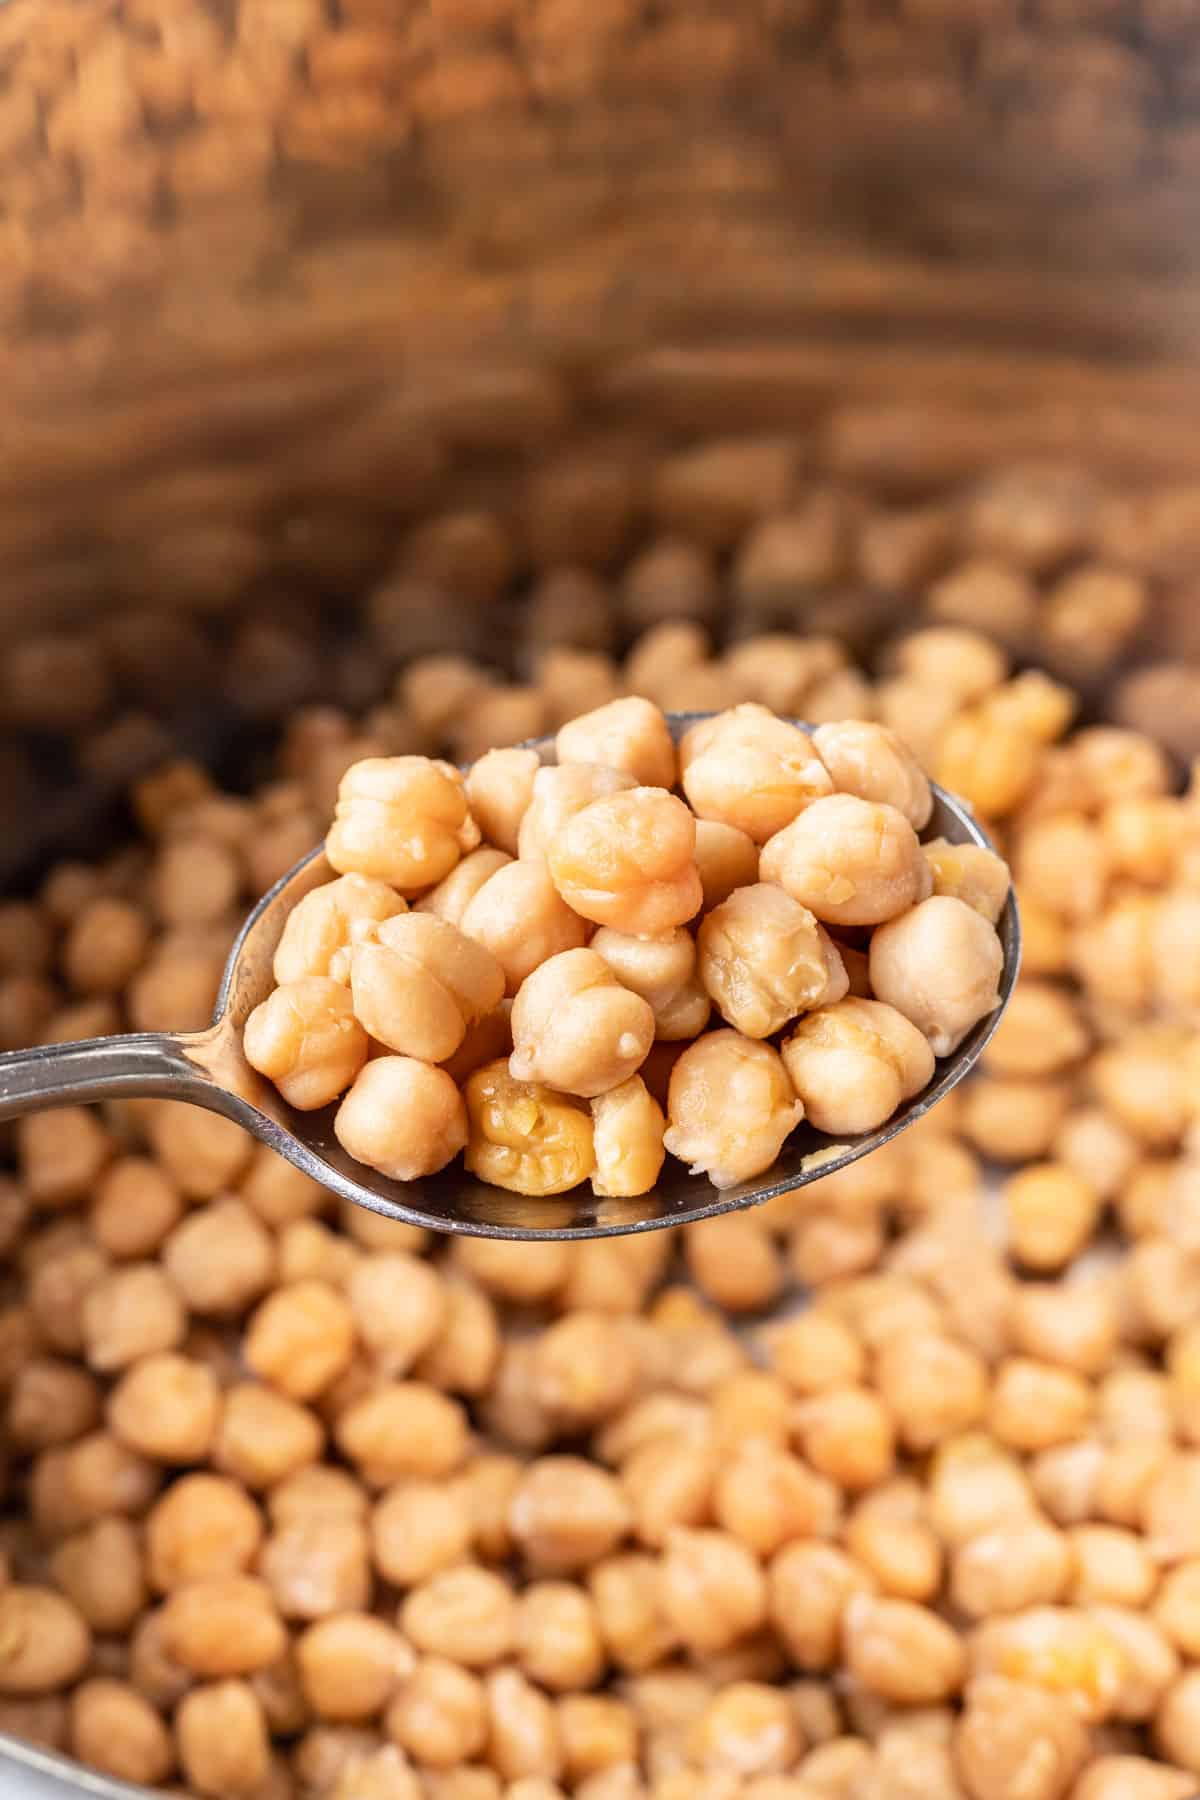
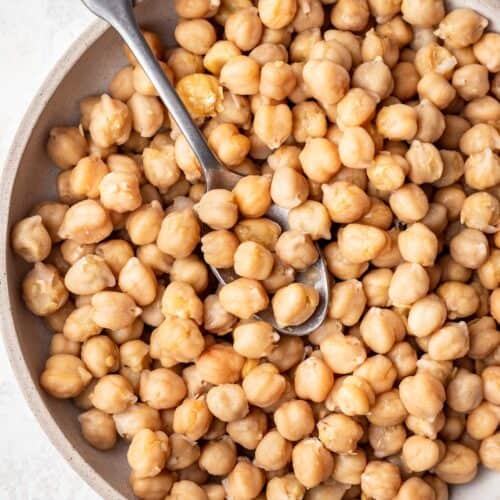
- Drain and rinse the chickpeas: Whether you've cooked your chickpeas from scratch or are freezing a leftover can of chickpeas, always start by draining the chickpeas from any cooking liquid and rinse them thoroughly until the foaminess subsides. I typically like to do this using a fine mesh sieve or a colander.
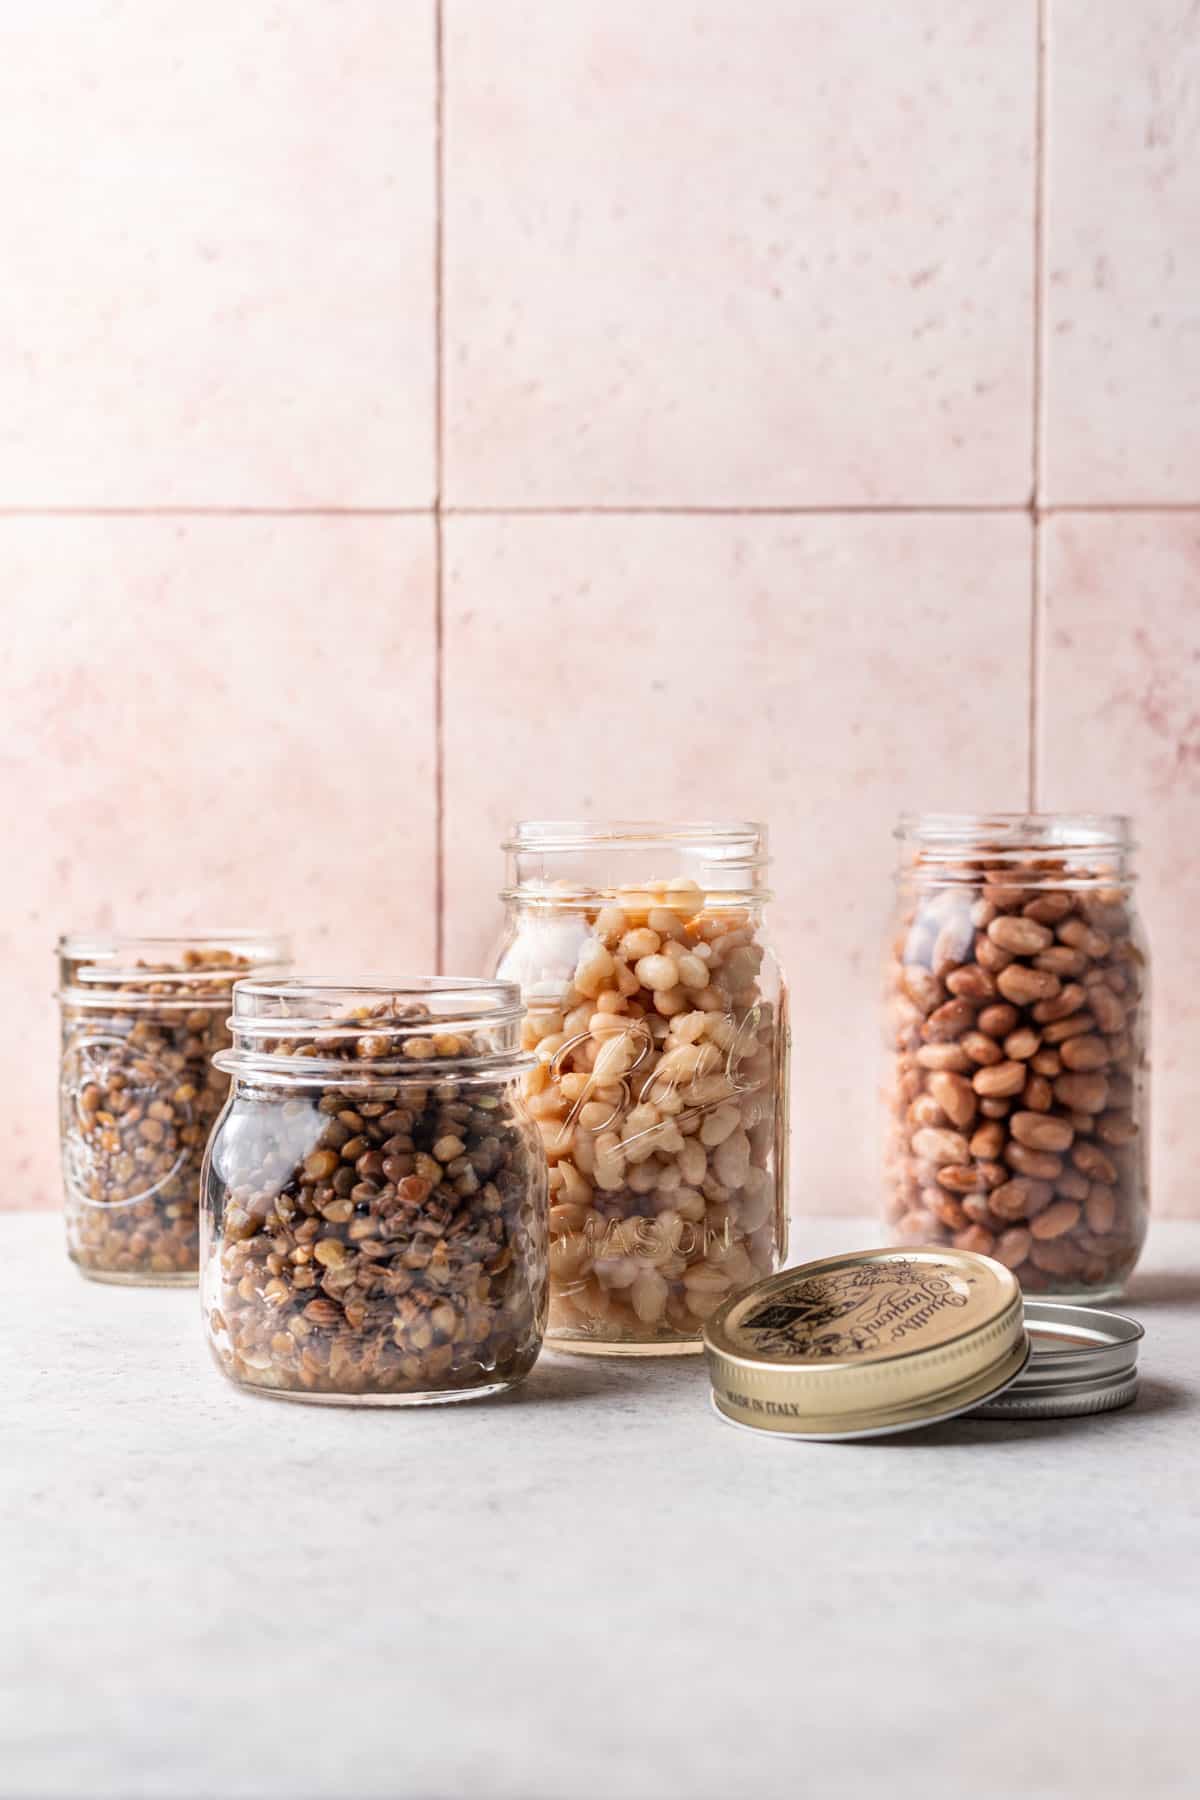
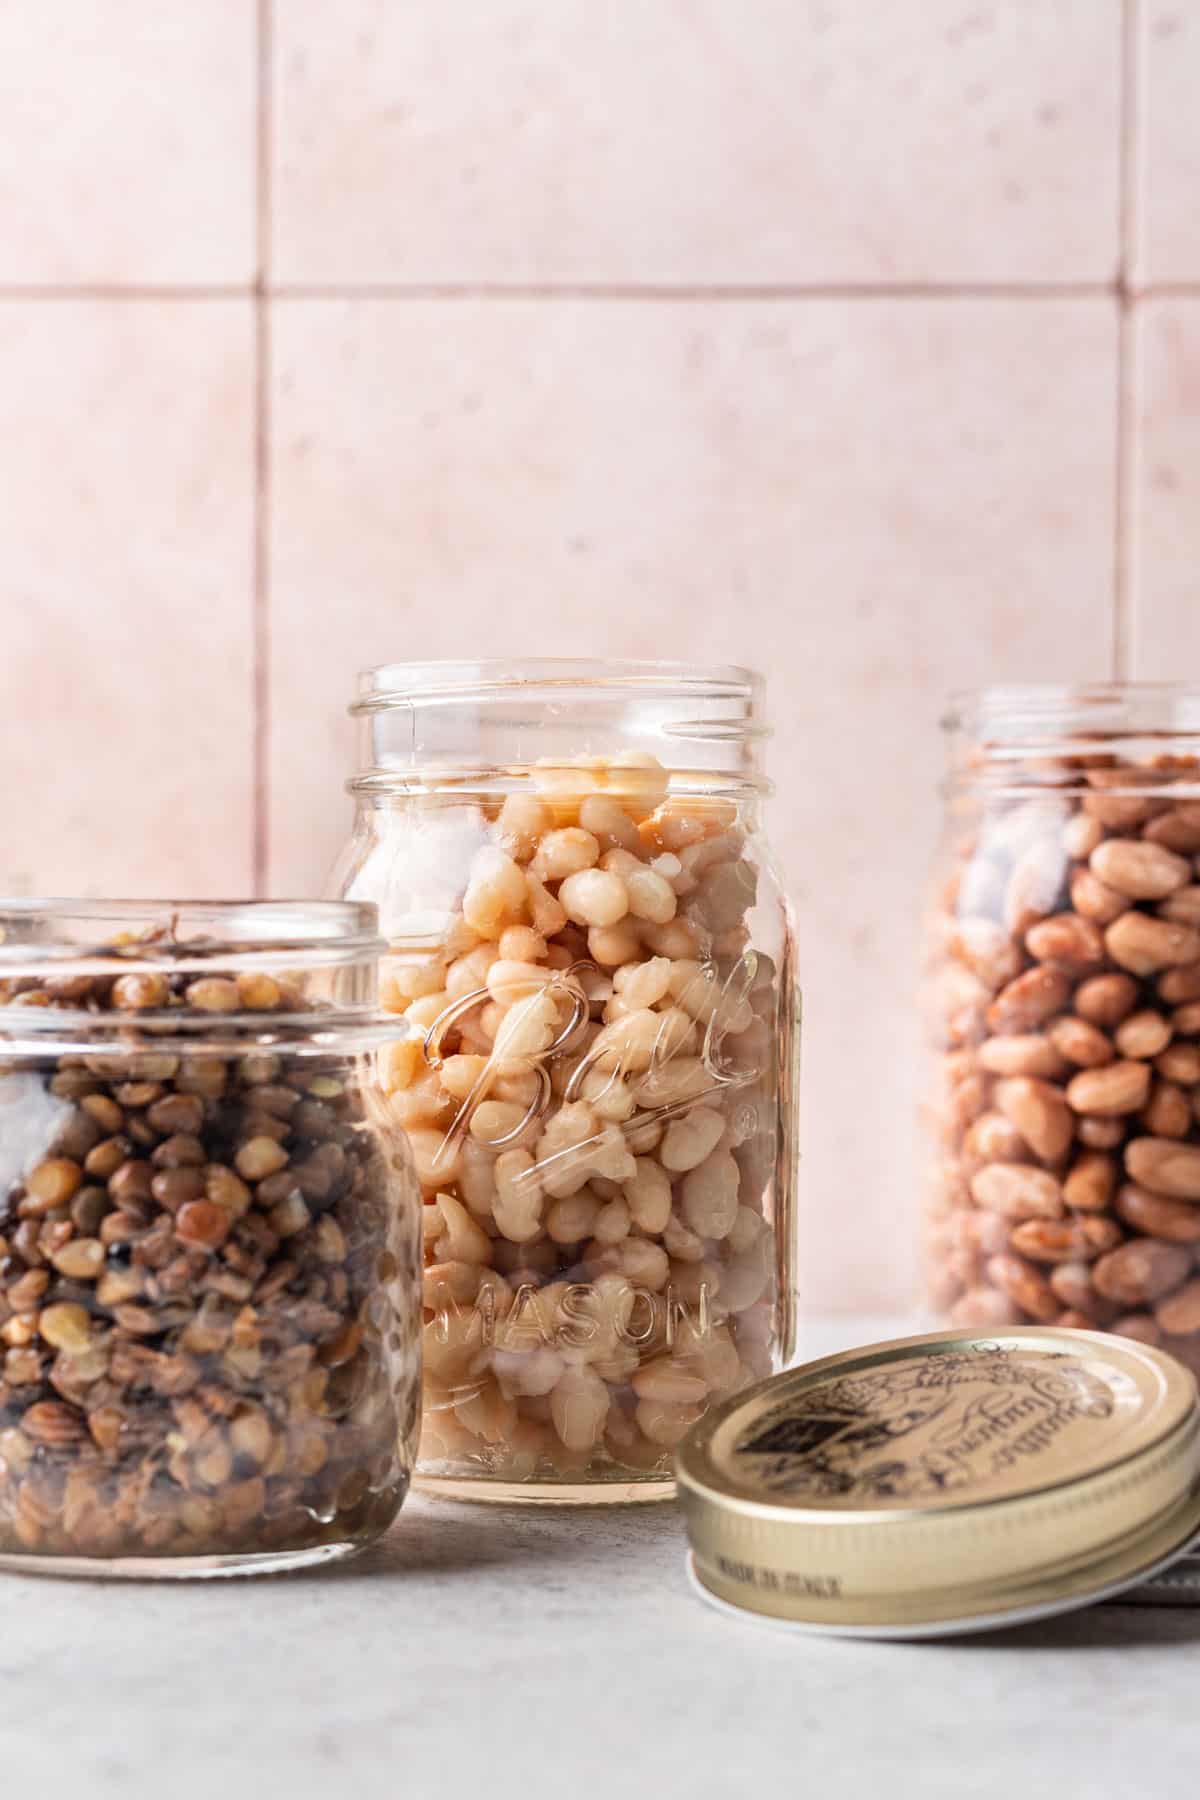
- Transfer to a container: Transfer the chickpeas to freezer-safe containers such as freezer-safe plastic bags, airtight containers, or glass jars (my favorite option). I typically recommend freezing the chickpeas in the portion sizes you typically use at a time. For example, I like to freeze my beans and legumes in a 16 oz jar because this is similar to the size of a regular can of chickpeas. That way, if a recipe calls for 2 cans of chickpeas, I can go to the freezer and grab two jars and know I am defrosting the exact amount I need.
- Label and freeze: Label the container with either a use-by date or the date they were frozen and place them in the freezer. You might be tempted to skip this step, but trust me when I say you will not remember when you froze them! And if you like to freeze beans on a regular basis, labeling them with dates will ensure you're rotating through your freezer stash properly and efficiently. This will reduce both food waste and confusion for you and your family members!
How To Thaw & Reheat Frozen Chickpeas
- Remove from the freezer: Remove the container of frozen chickpeas from the freezer.
- Thaw in the refrigerator: Transfer the container to the refrigerator and let the chickpeas thaw overnight. If you are in a rush, you can also place the chickpeas directly into the microwave using the defrost setting until warmed through.
- Reheat (as needed): Depending on the recipe, you may need to reheat your chickpeas. Chickpeas will reheat best in the microwave, on the stovetop, or in the pressure cooker or slow cooker until warm.
Frequently Asked Questions
What Kind Of Container Should I Use?
The most important part of the freezing process is using the appropriate container. When freezing chickpeas (and any grains or legumes!), it's important to use a freezer-safe container. This helps prevent freezer burn and keep the chickpeas fresh as possible for up to 6 months.
I always recommend using the best quality freezer tools your budget will allow. In this instance, a wide mouth glass jar such as a mason jar is my first choice, but you can also use freezer-safe bags like Stasher bags, ziplock bags, and even a large plastic container if you prefer to freeze your chickpeas in bulk.
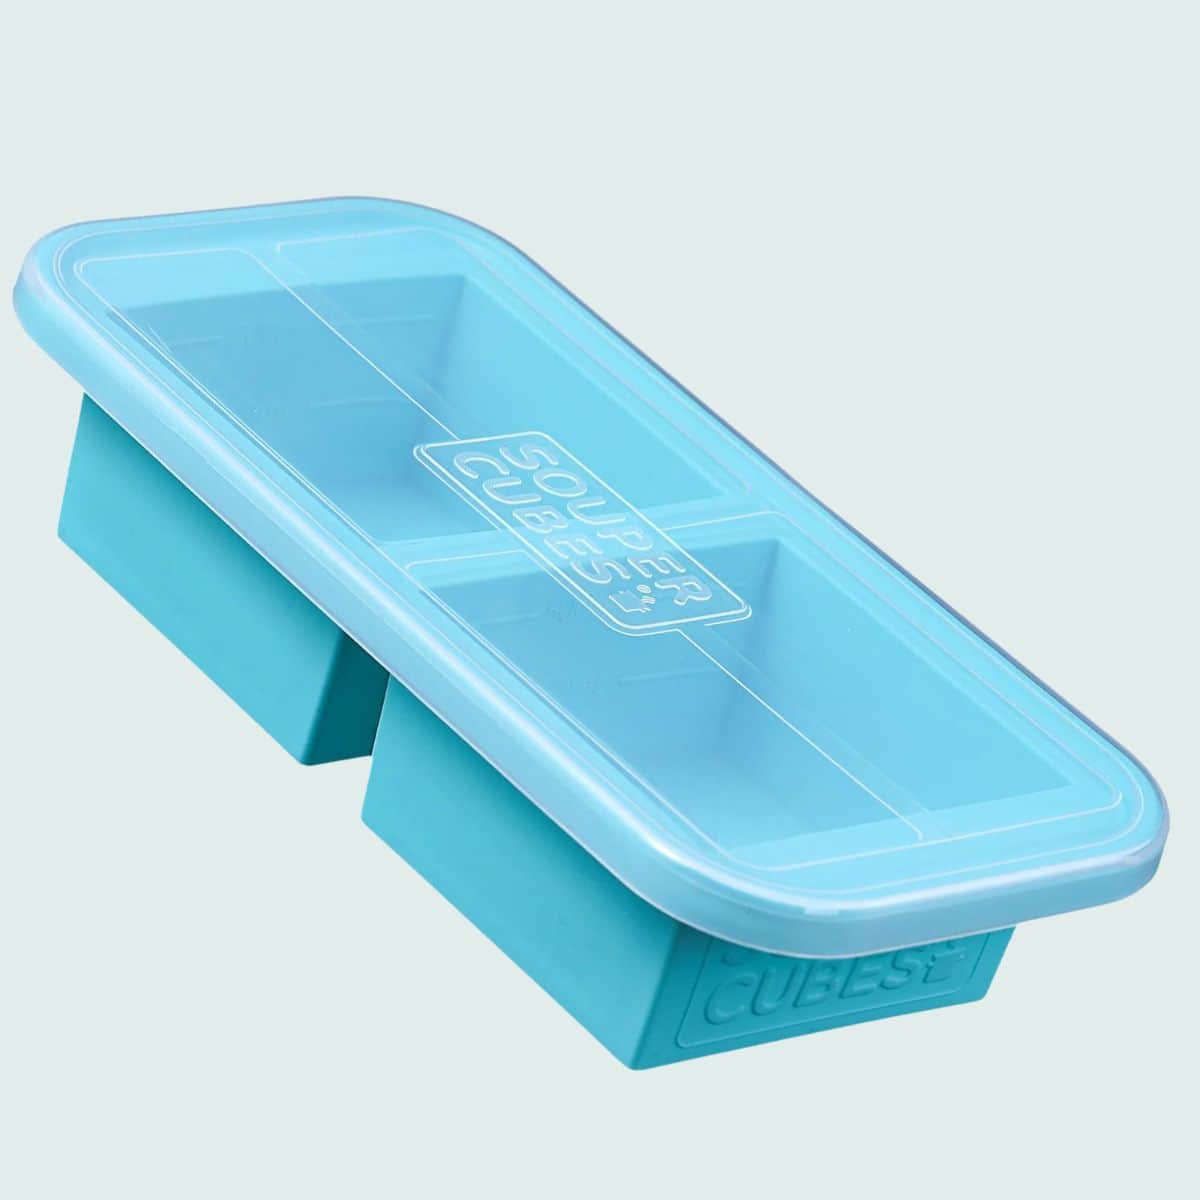
Silicone Cubes
My favorite way to freeze individual portions and meals. Use code HOMECOOKEDROOTS10 for 10% off.
Can I Thaw & Refreeze Chickpeas?
Refreezing thawed chickpeas is possible, but not recommended. This process can affect the taste and texture of the chickpeas and increase the risk of bacterial growth. It's best to portion out the chickpeas before freezing so you can defrost the specific amount you need at the time and leave the rest for future use.
How Can I Tell If My Chickpeas Are Bad?
You can tell if chickpeas have gone bad by their texture, appearance, and smell. Here are some signs that your chickpeas may have gone bad and should be discarded:
- Texture: If the chickpeas are mushy, slimy or discolored in any way, they may have gone bad.
- Appearance: If you see mold or dark spots forming on the chickpeas, they are no longer good.
- Smell: If the chickpeas have a rancid or sour smell, it's a sign that they are no longer fresh.
Can I Freeze Uncooked Chickpeas?
Yes, you can freeze uncooked chickpeas. Chickpeas can be easily stored in the freezer for future use. Before freezing, make sure to sort through the chickpeas to remove any debris or damaged beans, and then rinse them thoroughly.
After rinsing, you can either soak the chickpeas overnight, or blanch them for a few minutes in boiling water as a quick soak method. This will help to reduce cooking time later on. Then, drain the chickpeas and let them cool completely to room temperature before placing them in an airtight container or freezer bag.
When you're ready to use the chickpeas, simply take them out of the freezer and let them thaw in the refrigerator overnight. Once thawed, you can cook them as you would normally.
More Helpful Freezer Tips You May Like

How to Cook and Freeze Chickpeas
Ingredients
- 1 pound dried chickpeas
- 4 cups fresh water
- 1/4 teaspoon kosher salt
Instructions
How to Cook Non-Soaked Chickpeas
- Rinse and drain the dry chickpeas using a fine mesh sieve. Remove any debris, as needed.
- Transfer the chickpeas to the Instant Pot and top with 4 cups cold water, or enough to cover the chickpeas by 1 inch with water. Season with salt, if using.
- Pressure cook on high for 50 minutes, followed by a 15 minute natural release before moving the valve to the “venting” position and manually releasing any remaining pressure.
- Drain the remaining aquafaba (cooking water) and either discard or reserve for baking.
How to Cook Soaked Chickpeas
- Place the chickpeas in a very large bowl and soak the chickpeas for at least 8 hours, or overnight.
- Drain the soaking water and rinse the chickpeas thoroughly. Remove any debris, as needed.
- Transfer the chickpeas to the Instant Pot and top with 4 cups cold water, or enough to cover the chickpeas by 1 inch with water. Season with salt, if using.
- Pressure cook on high for 15 minutes, followed by a 15 minute natural release before moving the valve to the “venting” position and manually releasing any remaining pressure.
- Drain the remaining aquafaba (cooking water) and either discard or reserve for baking.
How to Freeze Chickpeas
- Drain and rinse the chickpeas: Whether you've cooked your chickpeas from scratch or are freezing a leftover can of chickpeas, always start by draining the chickpeas from any cooking liquid and rinse them thoroughly until the foaminess subsides. I typically like to do this using a fine mesh sieve or a colander.
- Transfer to a container: Transfer the chickpeas to freezer-safe containers such as freezer-safe plastic bags, airtight containers, or glass jars (my favorite option). I typically recommend freezing the chickpeas in the portion sizes you typically use at a time. For example, I like to freeze my beans and legumes in a 16 oz jar because this is similar to the size of a regular can of chickpeas. That way, if a recipe calls for 2 cans of chickpeas, I can go to the freezer and grab two jars and know I am defrosting the exact amount I need.
- Label and freeze: Label the container with either a use-by date or the date they were frozen and place them in the freezer. You might be tempted to skip this step, but trust me when I say you will not remember when you froze them! And if you like to freeze beans on a regular basis, labeling them with dates will ensure you're rotating through your freezer stash properly and efficiently. This will reduce both food waste and confusion for you and your family members!
Disclaimer: The Nutritional Information provided for this recipe is only an estimate. The accuracy of the facts listed is not and cannot be guaranteed.
Did You Love This Recipe?
Rate the recipe here and make sure to leave a comment below!
INSTANT POT DUO PLUS
The best budget Instant Pot!
INSTANT POT PRO
Comes to pressure faster with a safer pressure release button.
Want to Save this Recipe?
leave a comment
6 Comments
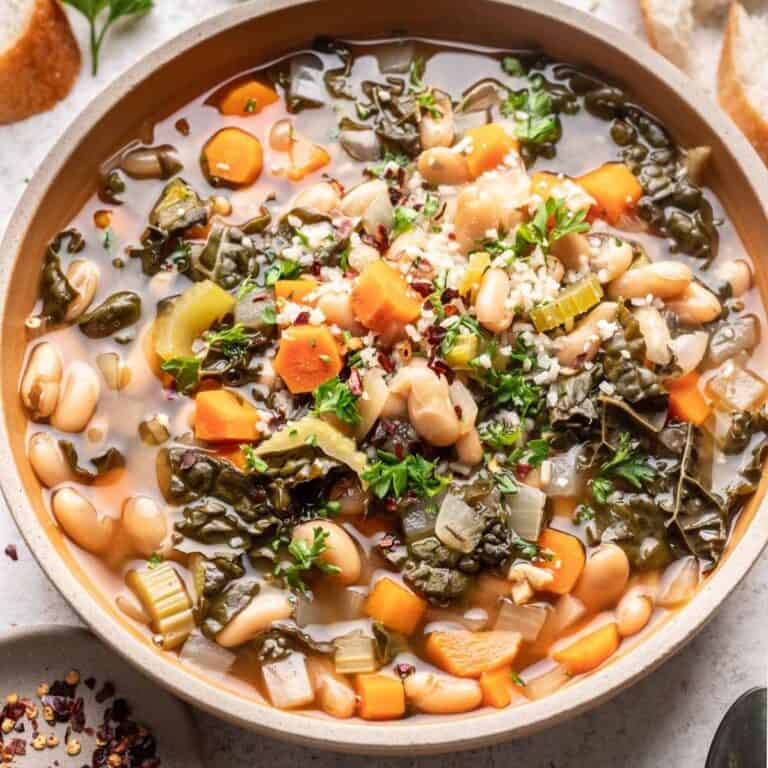
related recipes

Tropical Zucchini Smoothie
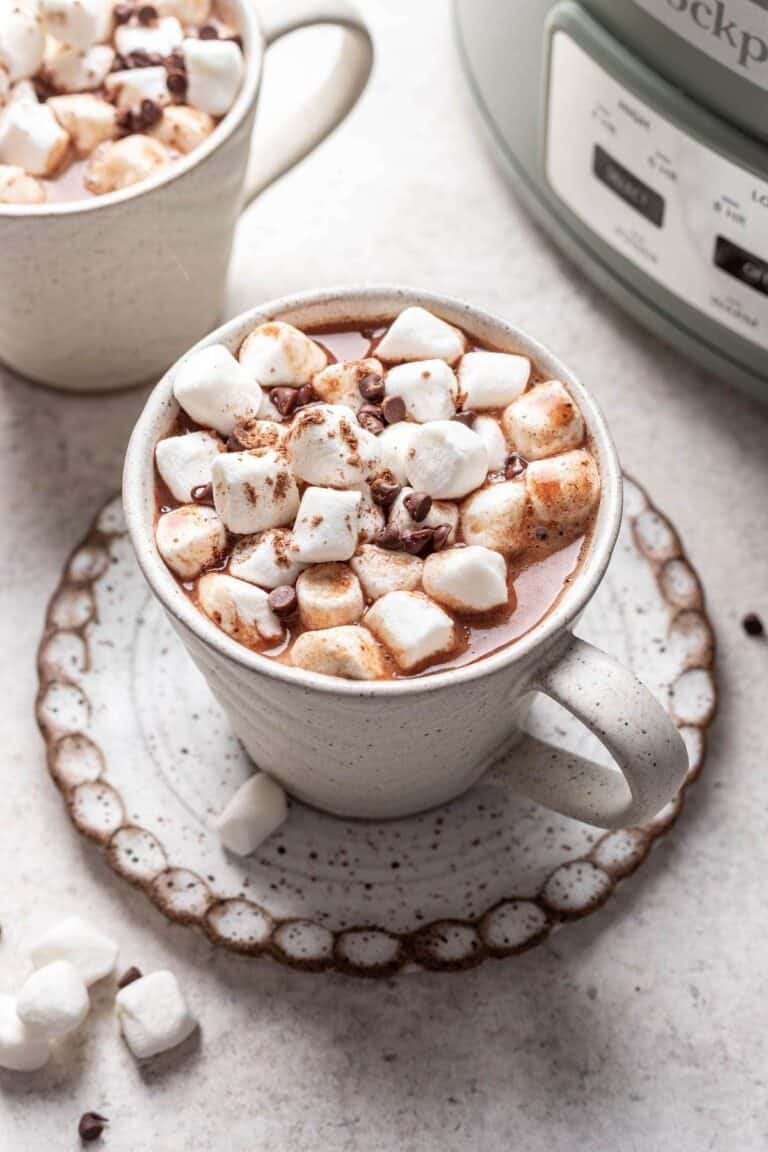
Easy Crockpot Hot Chocolate
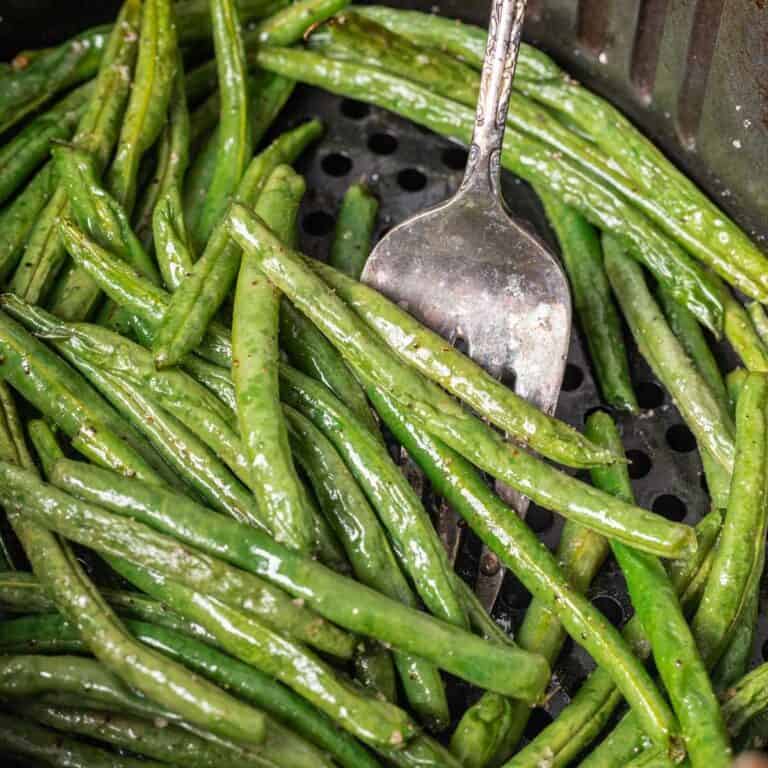
Air Fryer Green Beans

Air Fryer Sweet Potato Wedges


Muy interesante, me la guardo para hacer esta semana. Gracias 😘
hi! Most instructions to do this say to leave in the cooking liquid. Is there a specific reason you advise to not do so? Thank you!
Very helpful! I keep either over cooking or under cooking my chickpeas by using the bean function on the instant pot. Looking forward to trying this way.
I was searching on how to tell if your chickpeas have gone bad. I buy organic dried chickpeas in bulk. I go through a batch to take out any that don’t look good and proceed with soaking overnight the rest in water and salt. I always end up with a bunch that have these blackish/grey spots. I’m trying to figure out if they are okay to eat after being pressured cook. They don’t feel or smell bad. If they do look really bad I get rid of them. Any advice, am I doing something?
I am not entirely sure on that! I do discard those beans myself. I hope this cooking method works well for you!
This is great and really useful, thanks!
It never occurred to me to freeze using glass jars! Will cleaned jam jars do the trick? They sound the perfect size for holding tinned quantities.
Hi Peter, Im so glad you found it helpful. I think reusing cleaned jam jars to freeze chickpeas and other grains/legumes would work well. The best jars to use for freezing have straight edges and a wide mouth. Let me know how it goes!