
This post may contain affiliate links. By browsing this website, you agree to our privacy policy and terms of use.
In this guide I am going to teach you how I’ve used web stories to quadruple my website traffic in less than 90 days without spending hours and hours creating them. Learn how to spend just 30 minutes a day making web stories and watch your page views and discover traffic increase!
What are Web Stories?
Web stories are very similar to Instagram Stories but specifically made for Google carousels. They are visual, storytelling articles made into a bite-size, easy to consume format.
Continue reading for my best tips for creating successful web stories.
Be Consistent With Your Branding
- Your web stories should be representative of your brand and blog. This is a great opportunity to use branding colors, fonts and other details that make your blog unique to make your web stories be memorable and standout. You want to give the viewer an accurate preview of what they could expect if they clicked over to your blog.
- Put your logo on at least one page of the story. Again – creating brand awareness. Not only should you upload your logo into the plugin, but include it or a variation of your logo in the actual story! The more you can associate your name and brand with your recipe and photography, the more likely you will be remembered.
- Use the same format every single time. There is no need to overcomplicate this. Being consistent not only makes creating web stories very simple for you, but it also helps web story viewers know what to expect when they click your story.
- Provide them with an opportunity to see more. If you’re creating a web story about a 30 minute meal and you have several more on your website, link to your 30 minute meals category on the last story slide. This tells the reader you are an authority on the topic. The next time they need something quick for dinner, they’re much more likely to remember that you have a whole archive of 30 minute meals for them to choose from.
- Create SEO friendly web story descriptions. Make sure you are telling the reader everything they should know about your recipe and providing as much valuable information as possible. Is it a vegan recipe? Highlight that. Does it only take 30 minutes to make? Highlight that. Can you make it in a Crockpot and Instant Pot? Highlight that. You have 200 characters to use – use them wisely.
Web Story Design
To demonstrate how to create and design a web story, I am going to use my Easy Banana Chia Pudding Web Story that has garnered over 15,000 clicks in less than one week!
In addition to the tips I have below, I highly recommend checking out this article on Web Stories best practices and checking to make sure you have no errors before publishing.
Title Page
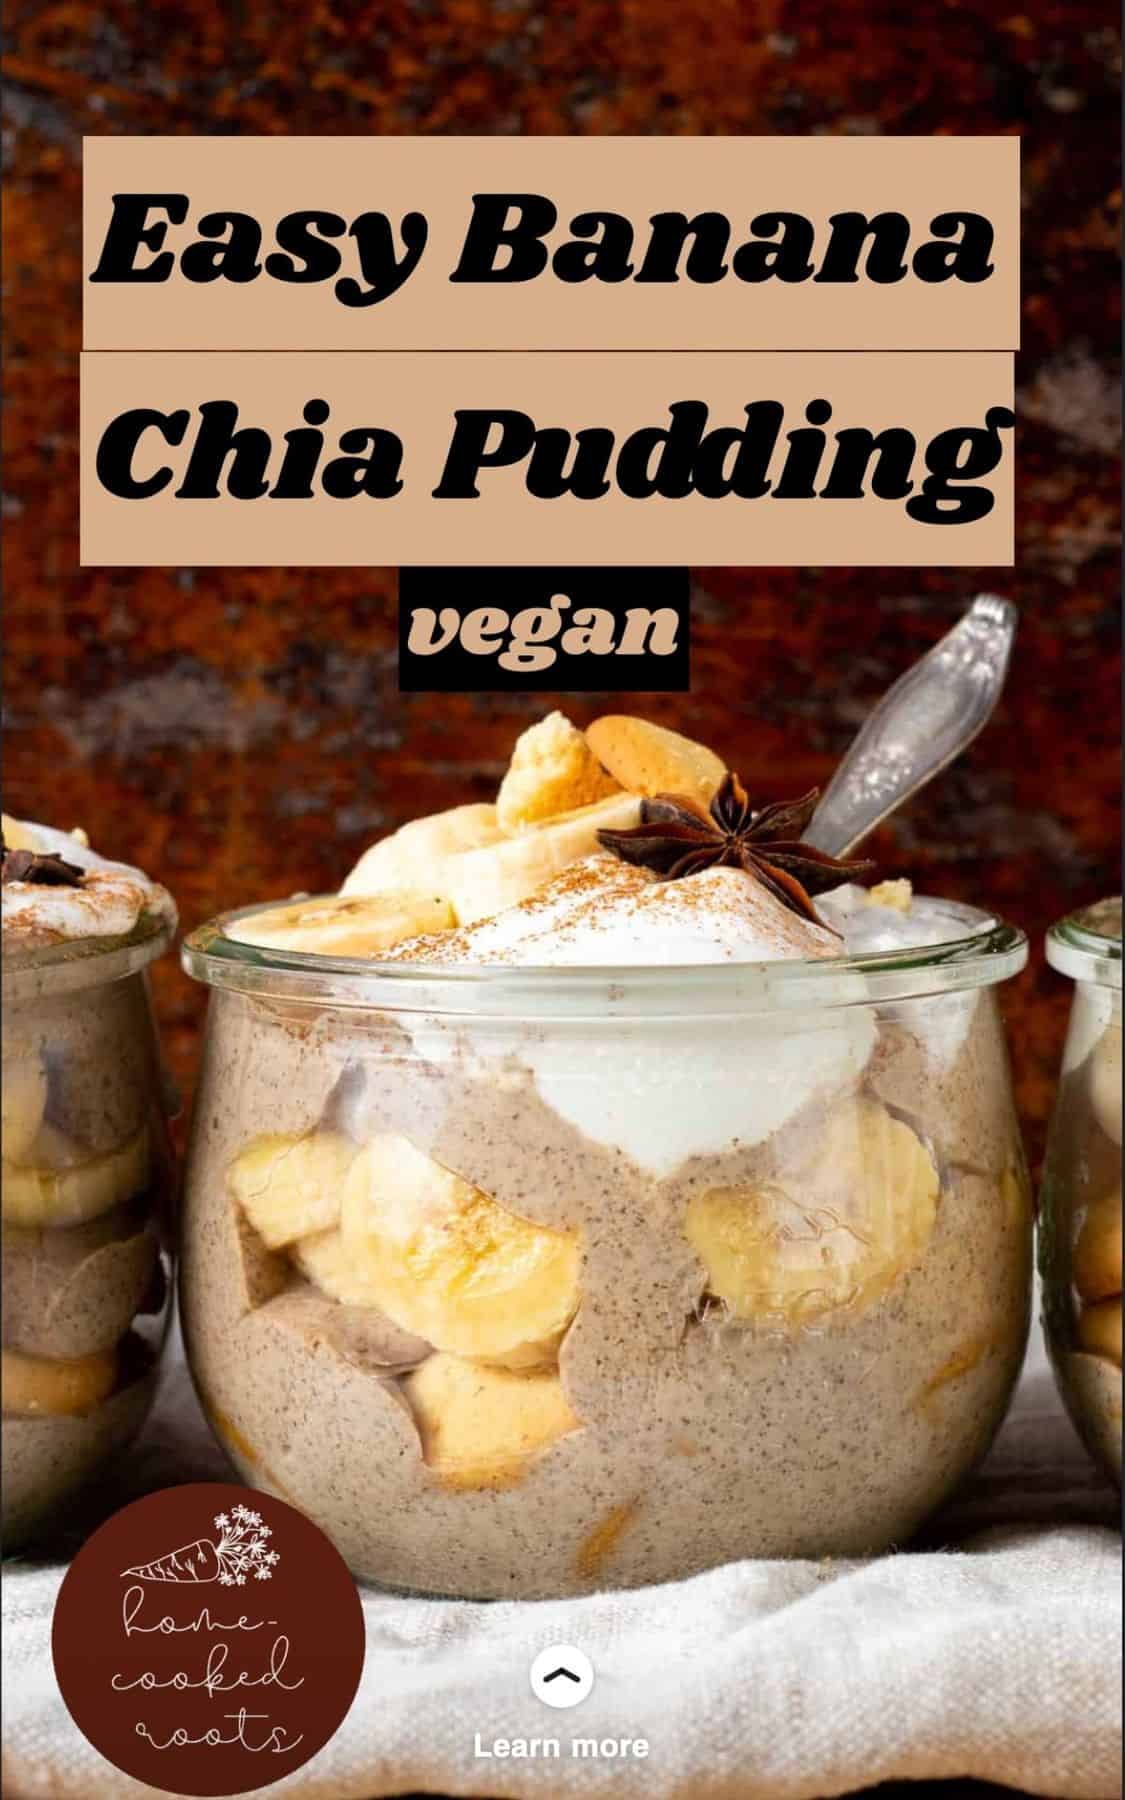
- As we discussed before, you want to make sure to use your colors, branding and logo on the first page. It’s also a great idea to show the title of the recipe as well as some key descriptive words.
- Use large, clear font. The plugin itself recommends using no smaller than 24px font. I usually use anywhere between 35-55px. Make it easy to read.
- Highlight the food. It’s what they clicked for after all. Make it the focal point.
Step by Step Instructional Pages
TIP: The more recipes you have with step by step process shots, the easier and quicker it will be to make web stories.
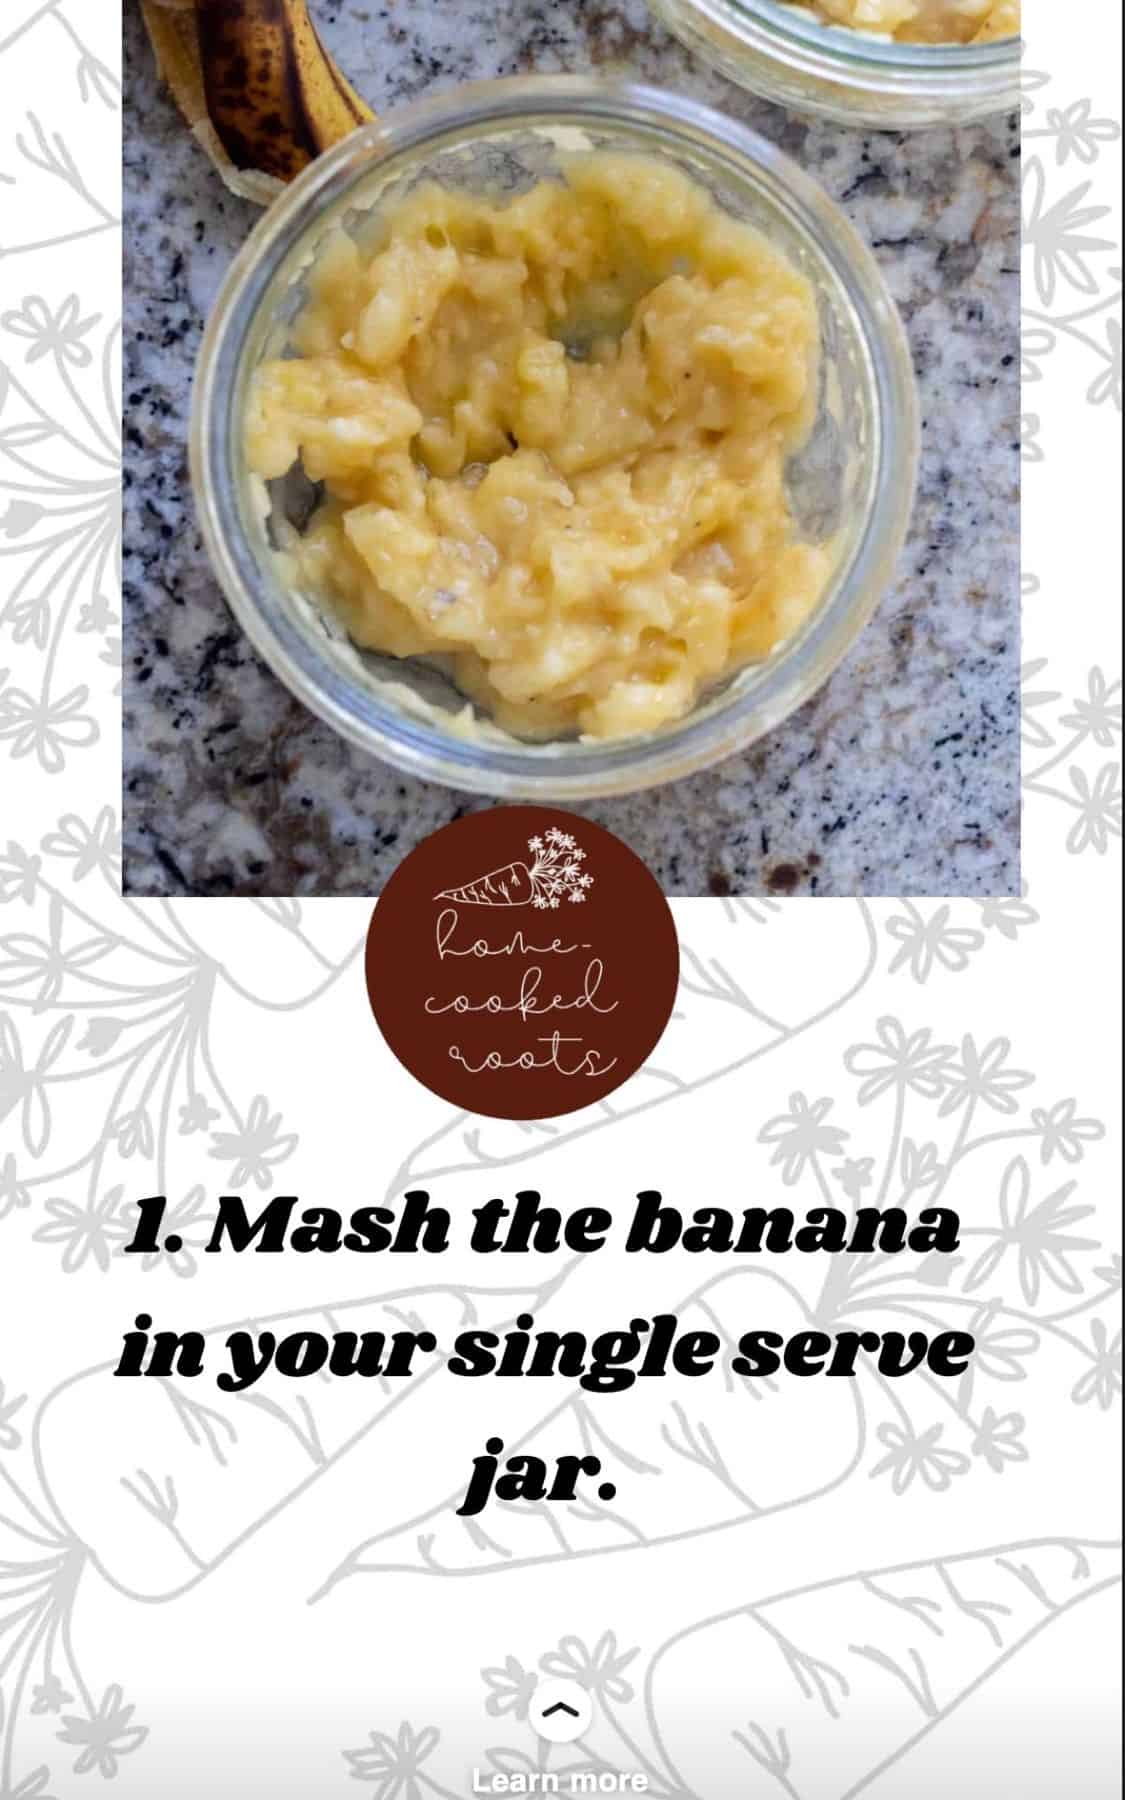
Design Tips
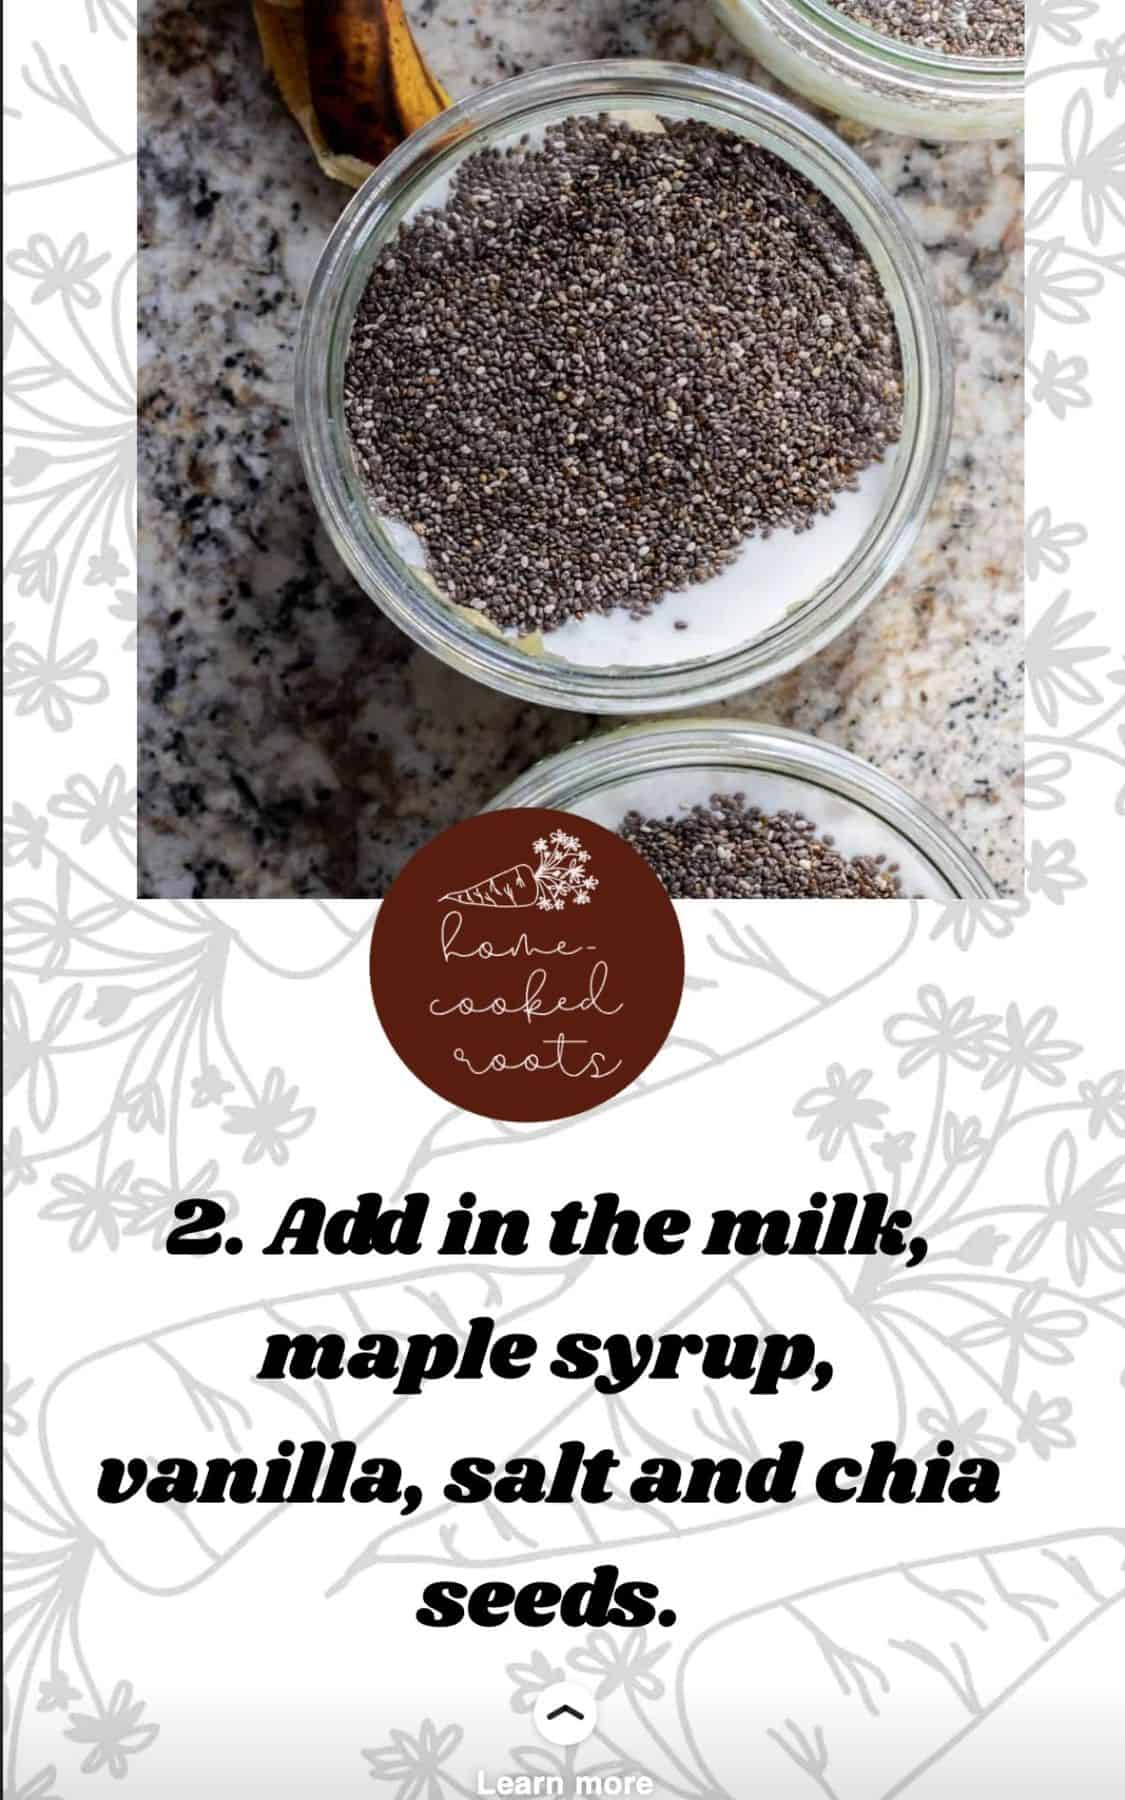
- As you can see from the two example pages above, I keep the formatting EXACTLY the same for every single instructional slide. There is no need to try and get fancy and make every slide unique. All that will do is make creating these complicated and time consuming.
- Design the slides directly in the plugin. Use their fonts, colors, gifs, shapes, and more in the plugin. The plugin will not pick up mistakes made in font sizing, image sizing and more if you design the slides outside the plugin.
- Add a background layer that keeps with your branding. I use a white background with the carrot from my logo on the background.
- Keep the recipe step image covering at least half the page. The image does not need to take up the entire page like I recommend on the title page, but make sure it remains a focal part of the slide.
- Keep the recipe step instructions brief and to the point. The more succinct you can describe the step, the better. This will help make the recipe appear as simple as possible and prevent the reader from getting bored and overwhelmed.
- Add a swipe up link or a clickable button on every single page. The plugin allows you to link to your post on every single page. Do it. Give the viewer as many opportunities as possible to click over to your post. They may want the recipe after viewing the first slide. Do not make them click through 10 more pages to get a link.
- Make sure you add alt text in the Accessibility section for each image layer on your web story. This is for visually impaired users and is vital.

- The plugin makes it very easy for you to keep each instructional page the same with the button circled above. Click that button after creating the first page and it will create a second page identical to the first. Then just replace the image and the text.
- Linking the recipe as a “swipe up” on each page is also very simple. In the layers section under the design tab, click “background layer” then add the url in as a page attachment.
Call to Action
- It may be obvious, but end every web story with a call to action! Encourage readers to get the recipe, swipe up to your dessert category for more, and even share the web story. You’ve gotten the viewer to click the web story, now you want to try and capture them as a return website visitor!
Additional Design Ideas
In addition to these basics, it’s a good idea to consider one, if not all, of the following:
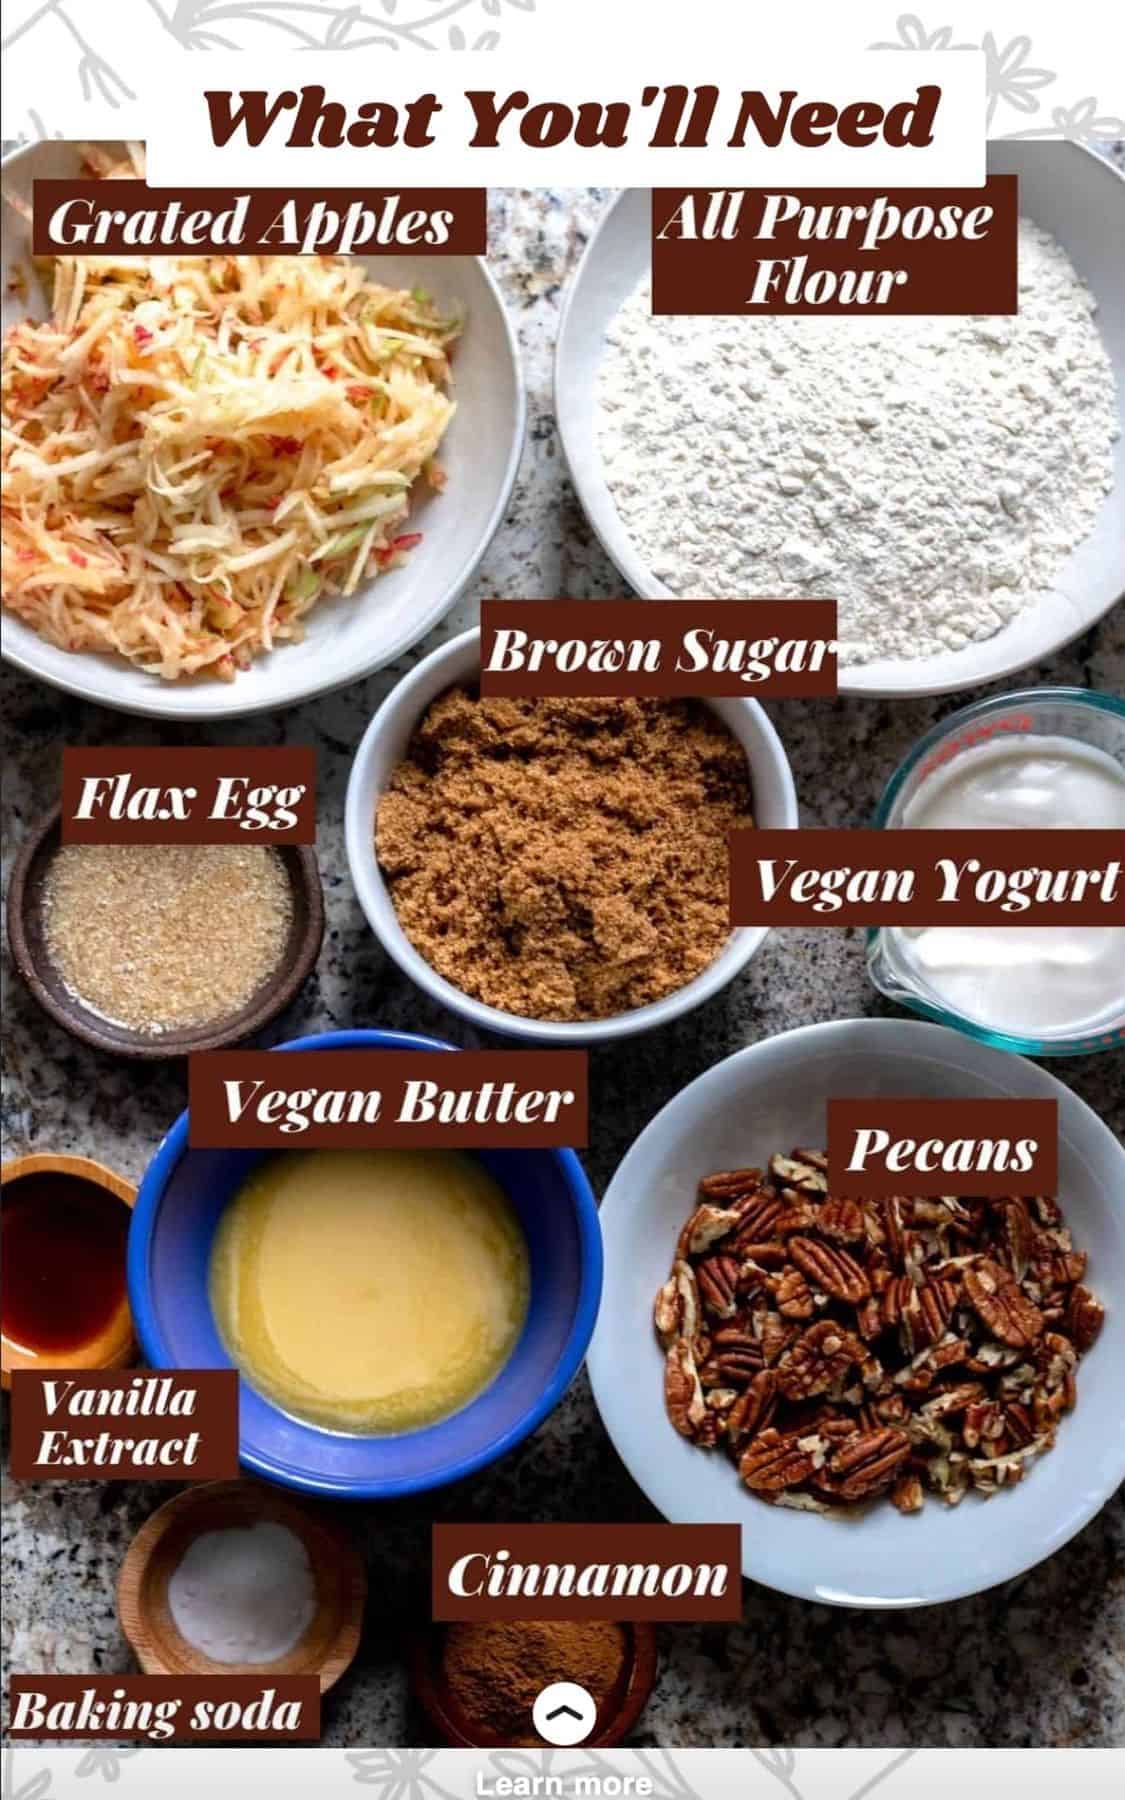
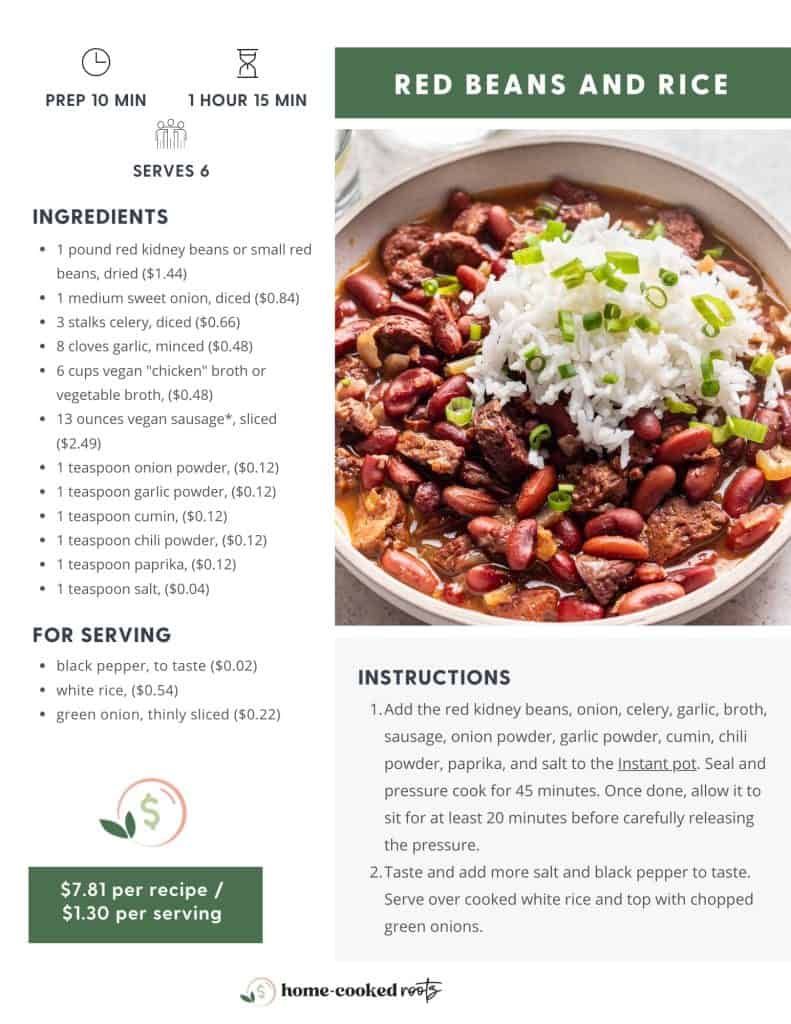
An Ingredient List
- Google Web Stories recently came out and said they do not want people making web “teasers”. Give the viewer as much information as possible about your recipe in the story so they can know if they would want to make your recipe. Adding an ingredient list or an image of all the ingredients needed for the recipe is a great way to make a valuable, complete recipe story.
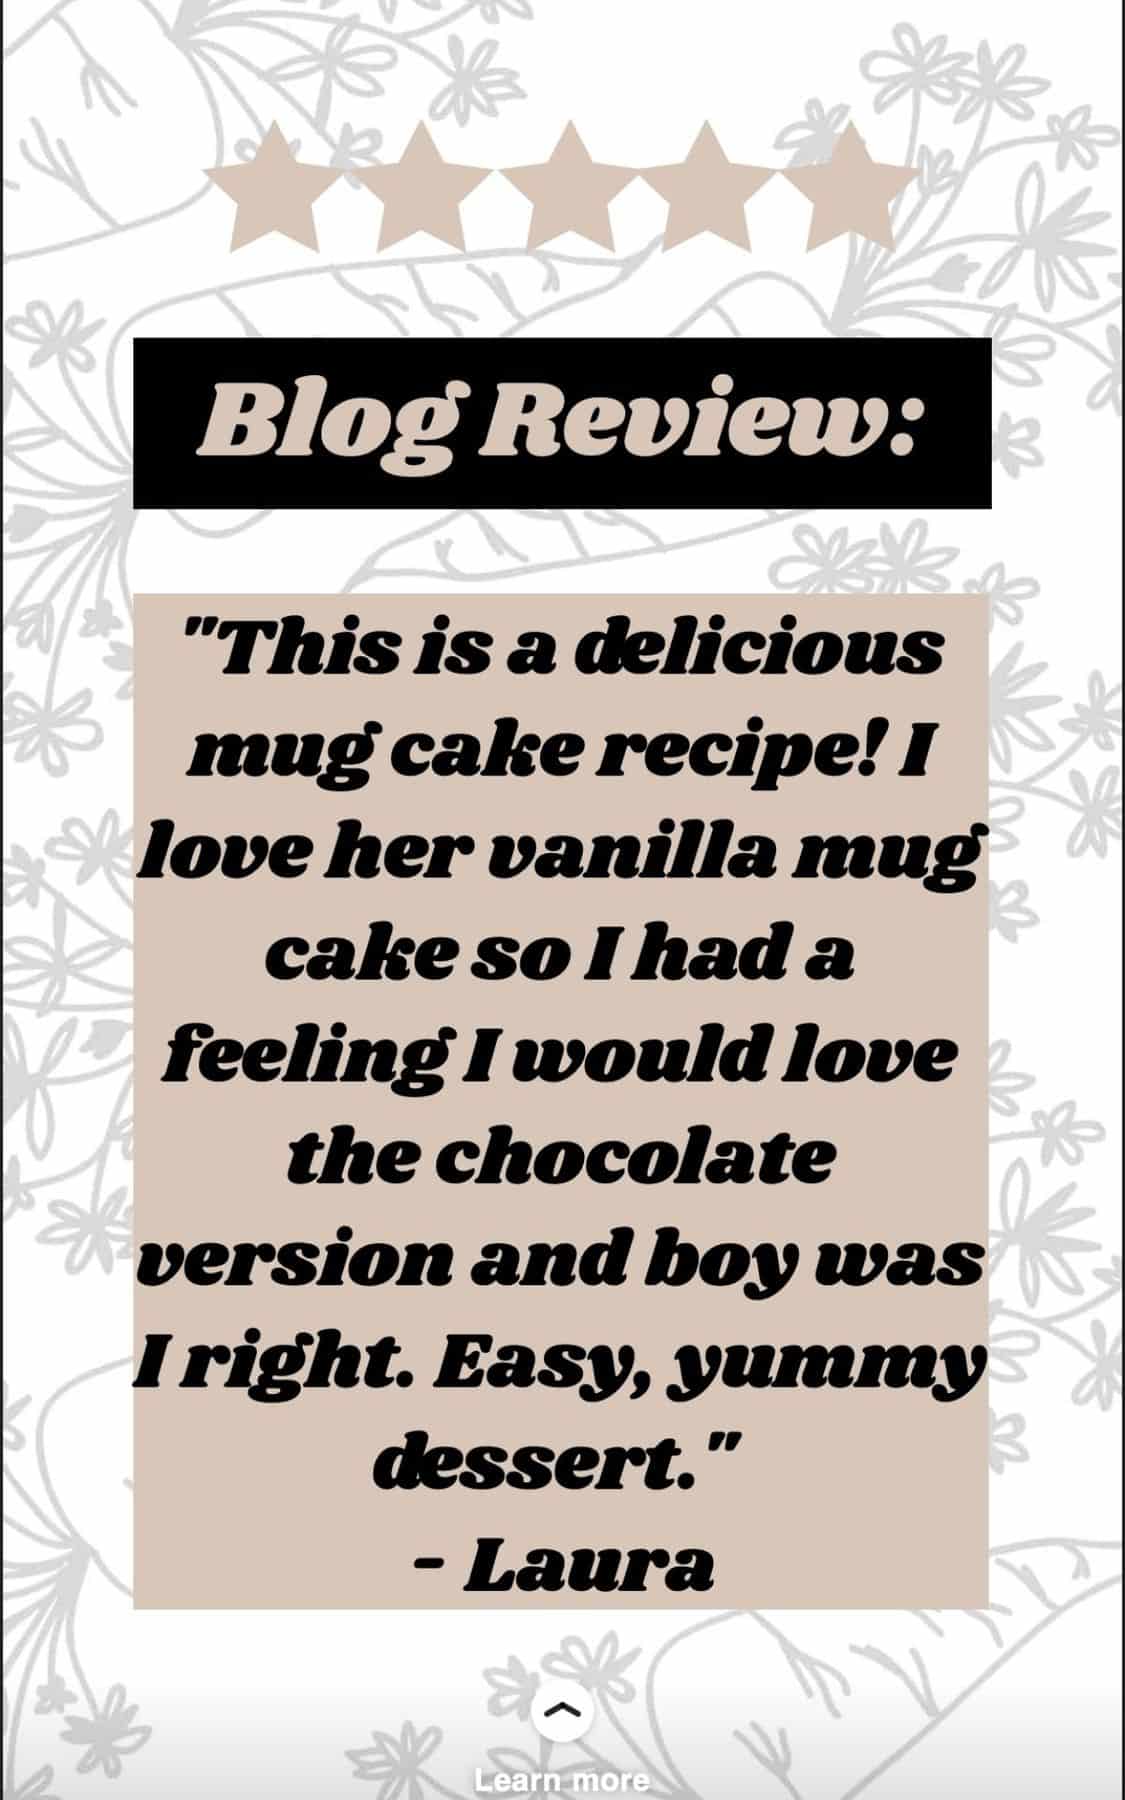
A Recipe Review
- If the recipe you’ve created a web story for is a really popular, well reviewed recipe, highlight that! This will add to your authority on the topic and confirm for the viewer that it is a good recipe.
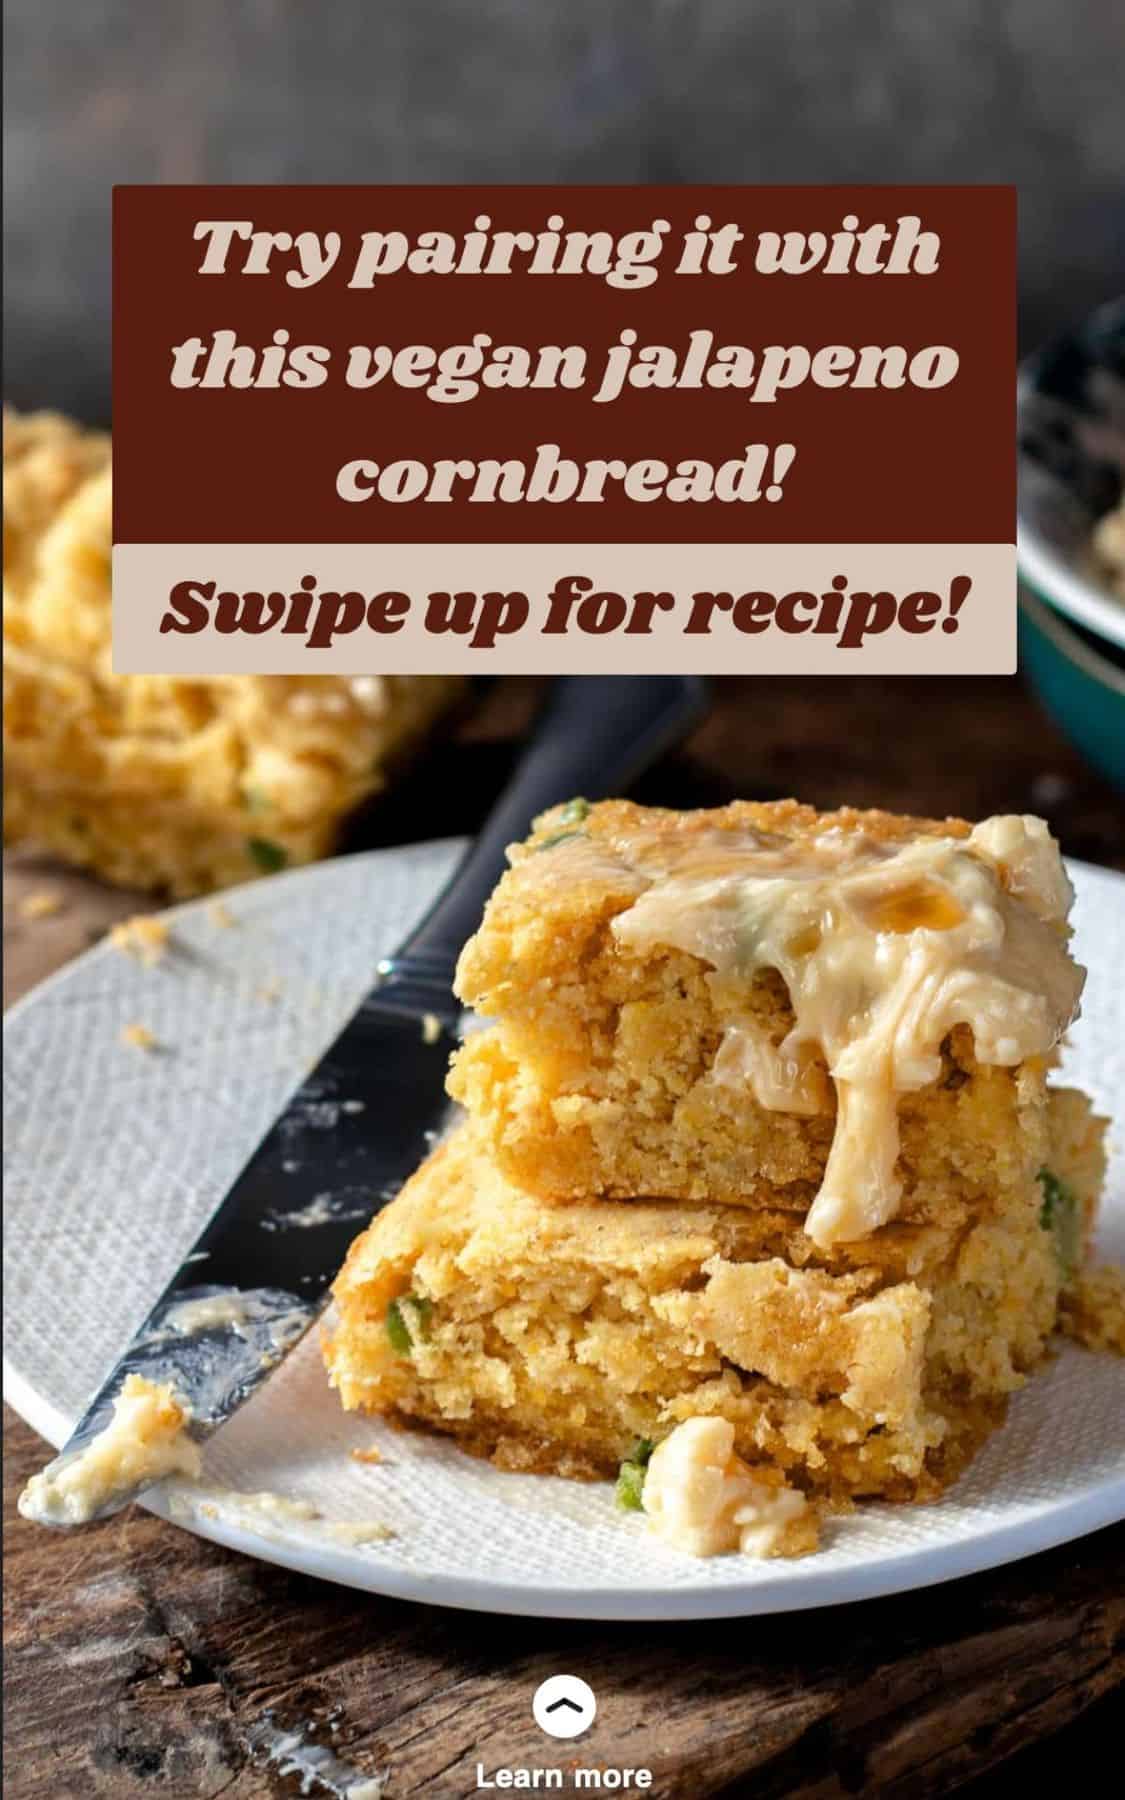
- If you’re creating a web story for a dinner entree and you’ve got a really good cornbread or side that pairs well with it, showcase that recipe as well by creating a call to action that encourages them to check out more of your recipes! The more value you can provide, the better.
Optimize Your Website
Now that you’ve gotten your story viewer to click over to your website for the recipe, make sure you’re providing them the best possible experience there.
- Two weeks before I began creating web stories I hired Nerdpress to maintain and optimize the backend of my website and I truly think it plays a large role in my web story success. If your website is not optimized behind the scenes it is going to be very difficult to retain readers.
- Make sure you have several call to actions in the actual post and link to other related recipes they may enjoy. If your web story goes viral and you get several thousand clicks over to your website but you have no call to actions telling them what to do once they’ve read your post, you’ve lost a very good opportunity to keep them coming back to your site.
- Double check the recipe! I personally had a web story turn into several thousand page views only to realize the recipe was missing an important ingredient. YIKES. Double and triple check it is correct!
FAQs
Each persons experience with web stories will differ, but I will tell you only one of my web stories has video and I have had great success without. Do not let the lack of a video library stop you from creating web stories.
No. Download the plugin “Search Exclude.” Then, after creating a web story, click “all stories” on the web story plugin panel, hover over the web story and click “quick edit” and check “exclude from search results.” This will prevent your web story from competing with your actual content.
It is true that web story traffic is quick, much like an Instagram story that disappears after 24 hours but they are far from a waste of time, especially if you are a small blogger trying to qualify for an ad network.
After making a web story, run it through this AMP test. It will tell you if there are any errors preventing validity.
Without process shots it will be difficult to make visual story telling web stories. However, if you have some process shots, you can fill in the gaps by using the stock images and gifs that are preloaded into the web stories plugin to complete the visual storytelling. 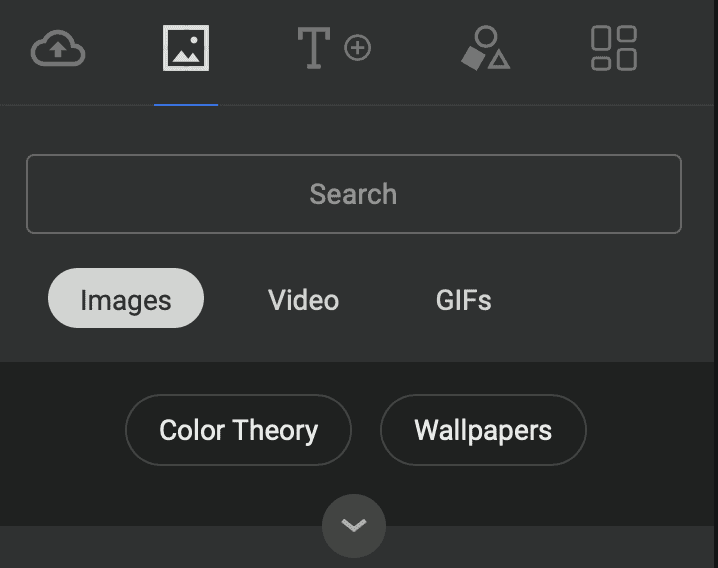
No, you do not need to do that.
Yes. All of the web stories will be differentiated from the actual posts with /web-stories/ in the permalink. You will be able to see the difference between web story traffic and actual page view traffic in analytics.
Tracking Web Story Traffic
Now that you’ve created some web stories, make sure you track your clicks from it!
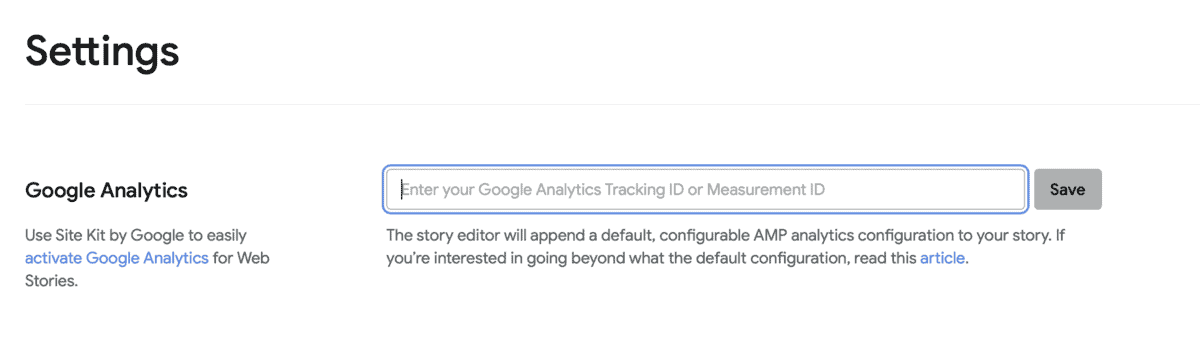
On the settings tab of the Web Stories plugin, enter your Google Analytics Tracking ID and hit save!
Last Thoughts
If you have any additional questions about web stories, feel free to leave a comment and I will do my best to help you. You can also take a look at my web stories archive to get additional inspiration for creating your own!
Remember that this does not need to be complicated or time consuming! You can create a new web story every single day in less than 30 minutes and see the benefits almost immediately.
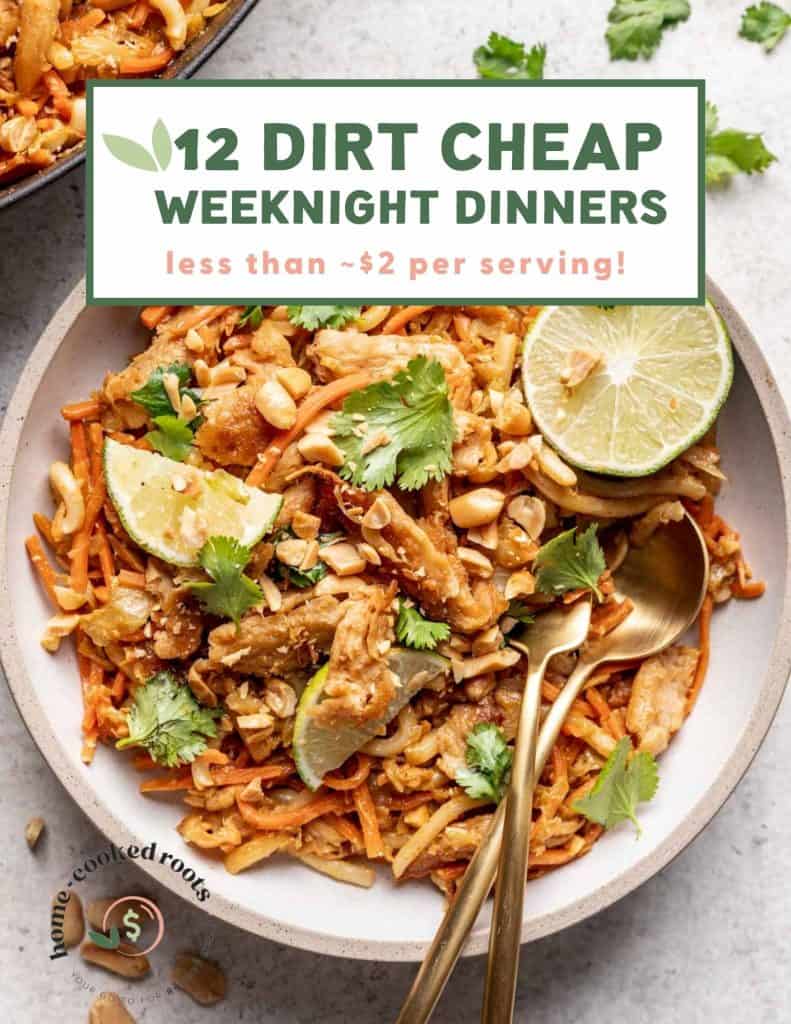
Free ebook
Wallet-Friendly Recipes & Smart Shopping Tips in Your Inbox
Plus get a free cookbook with 12 Dirt Cheap Dinner Ideas that’ll cost you $2 or less per serving.


Thanks for this! Using Canva, I’m going to make a background image to be used in my webstories – what dimensions do you recommend?
Thank you so much for this great resource. I just published my first web story and have a quick question. When I look under all stories, I have a red light next to the story. When I hover over the red light it says, “Focus Key Phrase Not Set”. I can’t find where I would set the key phrase. Do you know where I would set the key phrase? Thanks for any assistance you can provide.
Hey Girl! This is an amazing guide! Thank you! I made a template and already did 6 web stories! It’s super easy once you get the template down 🙂
Quick question-i notice you web stories page is beautifully laid out here:
https://homecookedroots.com/web-stories
Mine is laid out TERRIBLY! Is this a function of my theme? Is there any way to format it? You can see mine here: https://getonmyplate.com/web-stories/
Let me know if you have any advice or maybe I can reach out to the company who did my theme ! Thanks again!
Hi!! Thank you, I am so glad you found it helpful!
I think you’re right that its a theme layout! I use Feast and I also use Slickstream. I think this is probably Feast causing this layout, but i am not 100% sure!
Thanks for this. I’ve been dragging my feet on making web stories and I’ve really got to get on it. I need all the traffic!
You’re welcome! Making web stories is a huge opportunity for smaller bloggers. Once you have a format you like, it’s really easy to automate your workflow and you’ll find it gets really easy! 🙂
This is so helpful! Thank you for putting together such a useful guide! I’m just getting into web stories and am curious where you insert the swipe up link? When I view my own stories I don’t see the indication of a link at the bottom of the picture as I do with yours. I’m inserting a link but the only way I see to do it is by clicking on the photo used and adding a link there. Is there another way to do it that allows the “learn more” with swipe up arrow to appear? Thank you for your help!
Hi, so glad you found it helpful! The web stories plugin is constantly changing so now it looks completely different from when I made this post but if you open up the plugin to create a new web story, on the right hand side it will have the design tab and an option to enter a “page attachment.” Enter your URL there and that will trigger the swipe up option. Hope that helps!
This post was so helpful! I enjoyed listening to your success story on the Mind Over Blog Podcast as well! Congratulations on your success!
Thank you so much, Sandra. So glad you found it helpful.
Till where had you reached?
Thank you so much for creating this guide! So helpful and so inspiring! I do have one question – I’ve been making web stories for a few months and always get the warning that my images aren’t the right size. My images are “smushed” by a plugin on my site automatically so do you re-upload all the images even though they are already in your media library from when you created the original blog post? Hope this question makes sense!
Hi!! Which photos is it telling you are sized incorrectly?
This is so helpful! Can’t wait to implement all this great advice on my own web stories 🙂
This is an amazing resource!!! Thank you for making this.